


These creamy frozen treats pair beautifully with a scoop alongside Easy Apple Crisp or as a sweet finish after a light summer spread like Fresh Corn Salad.

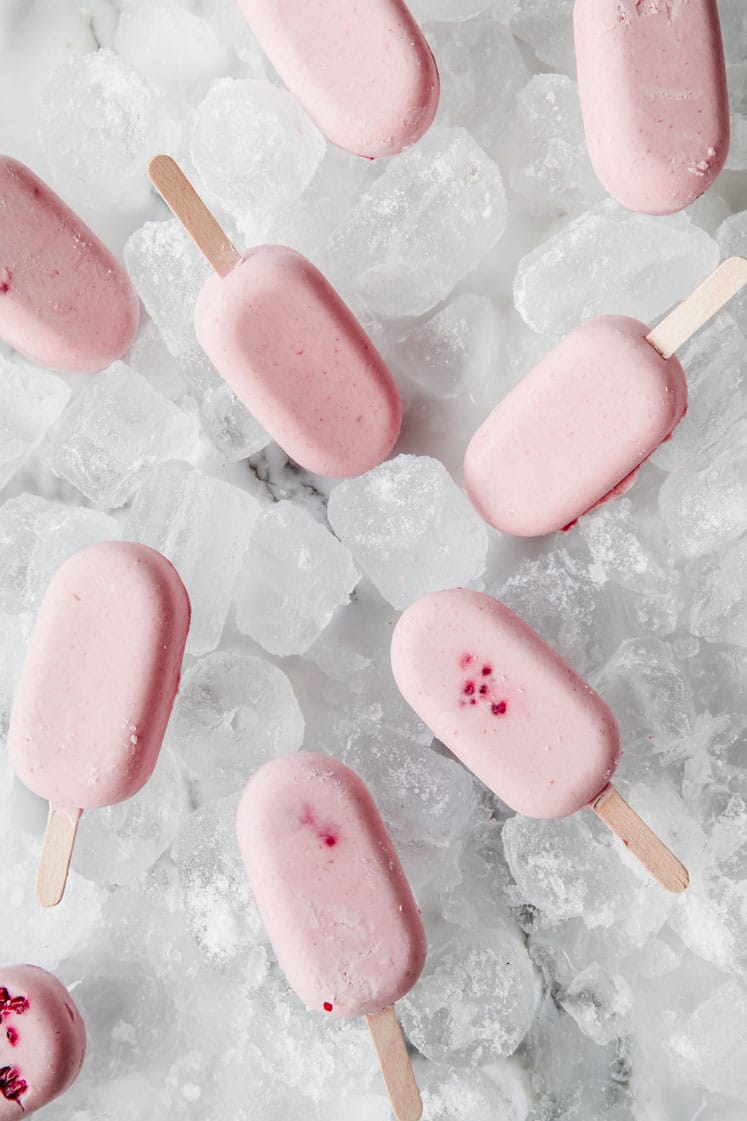
When a hot day calls for something cold and creamy, Berries and Cream Popsicles are exactly what you want in the freezer. They come together in one blender with just a handful of real ingredients — mascarpone, heavy cream, frozen strawberries and raspberries, a touch of monk fruit sweetener, and vanilla — then get poured into molds and tucked away until frozen solid.
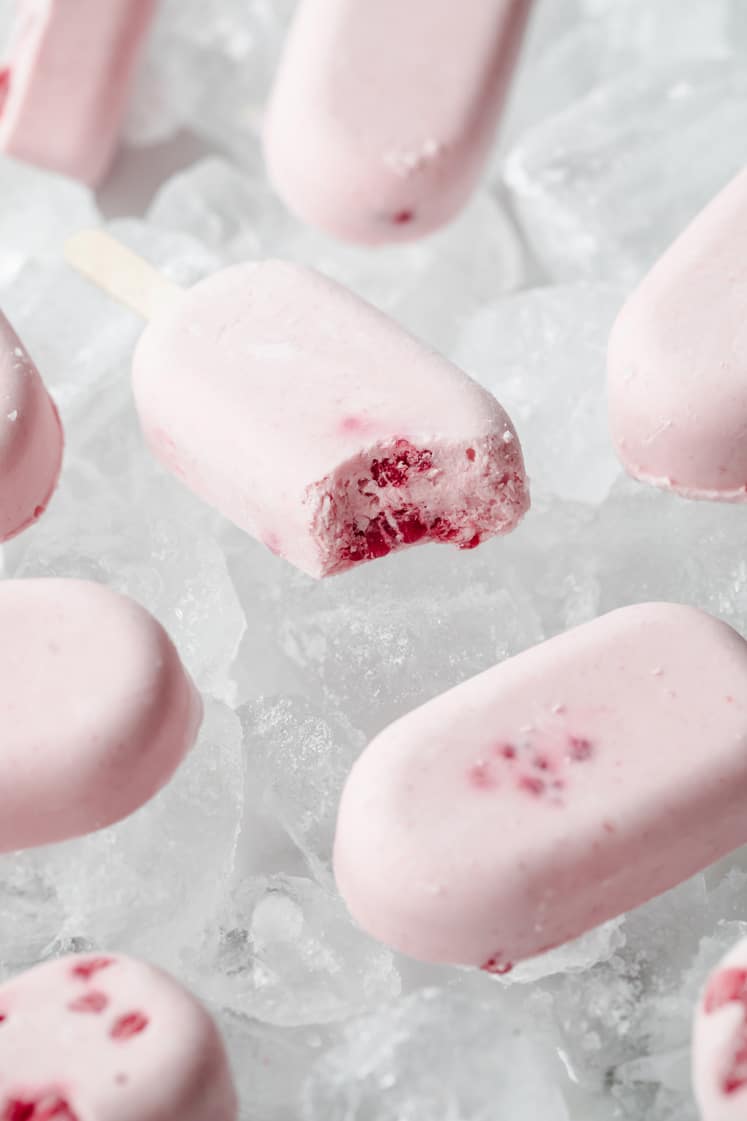
What makes them so good is the mascarpone. It gives the popsicles a rich, velvety texture that regular cream pops just don’t have, and the bright berry flavor cuts right through it. Chopped fresh raspberries pressed into the molds before freezing add little pockets of fruit throughout. They’re easy enough to make on a weekday afternoon and fun enough to serve to kids and adults alike.
Every recipe on Real Balanced is tested before it’s published — read about how we develop and test our recipes.
Reader Love

These turned out rich and creamy. I love them!!!!

As an Amazon Associate, I earn from qualifying purchases.
💛 Why you’ll love this recipe
- Rich and creamy texture. Mascarpone cheese gives these popsicles a thick, velvety bite that’s a step above the usual fruit pop.
- Bright, real berry flavor. Frozen strawberries and raspberries deliver bold, fruity taste year-round.
- Kid-friendly and crowd-pleasing. Simple enough for little helpers to make, and delicious enough for everyone at the table to love.
- Minimal ingredients. Just six blend-in ingredients plus a handful of fresh raspberries for the molds.
- Make-ahead friendly. Pop them in the freezer and they’re ready whenever you need a cool treat.
➡️ Ingredients
⏲ How to make this recipe
👉 Easy ingredient swaps
- Mascarpone → cream cheese works as a substitute and keeps the same creamy consistency.
- Frozen strawberries and raspberries → any frozen berry blend you have on hand will work.
- Powdered monk fruit sweetener → any powdered sweetener you prefer can be swapped in at the same amount.
- Fresh raspberries in the molds → skip them or swap for fresh strawberry pieces if that’s what you have.
✨ Variations
- Chocolate berry swirl: drizzle melted dark chocolate into each mold before pouring in the berry cream mixture.
- Peaches and cream: swap the strawberries and raspberries for frozen peaches for a summery stone-fruit version.
- Coconut berry: replace the heavy cream with full-fat coconut cream for a dairy-free version with a subtle coconut flavor.
- Extra vanilla: increase the vanilla extract to 1 tablespoon for a more pronounced vanilla-cream flavor throughout.
〰️ How to serve
- Serve straight from the molds on a hot afternoon — run the outside of the silicone mold briefly under cool water to help release them cleanly.
- Arrange on a platter with extra fresh berries for a pretty summer dessert spread alongside Easy Apple Crisp.
- Pack individually in small zip-top bags and store in the freezer so they’re grab-and-go ready all week.
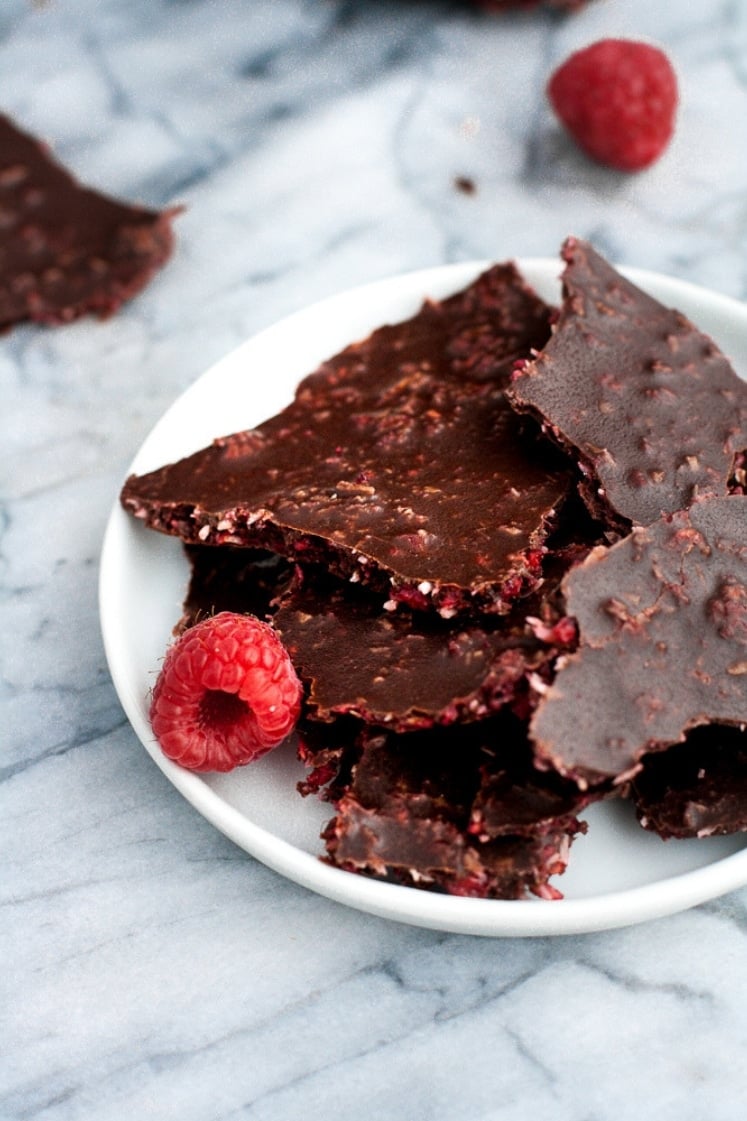
- Serve to kids as an after-school or after-dinner treat alongside a fun topping bar with Dark Chocolate Raspberry Bark crumbles on the side.
🧊 Molds, sticks, and getting them out clean
Silicone molds are worth it here. A rigid plastic mold grips a creamy pop and you end up either snapping the stick or waiting so long that the outside starts to melt. Silicone flexes, so you can push each one up from the bottom with your thumb and it releases whole.
Leave a gap at the top of each mold. The mixture expands as it freezes, and a mold filled to the rim pushes up and over, which glues the lid down and leaves you chipping frozen cream off the tray. Stopping a finger’s width below the top is enough. Tap the filled tray firmly on the counter a few times before it goes in the freezer, too — this base is thick, and tapping settles it into the corners and knocks out the air pockets that otherwise show up as hollow craters in the finished pop.
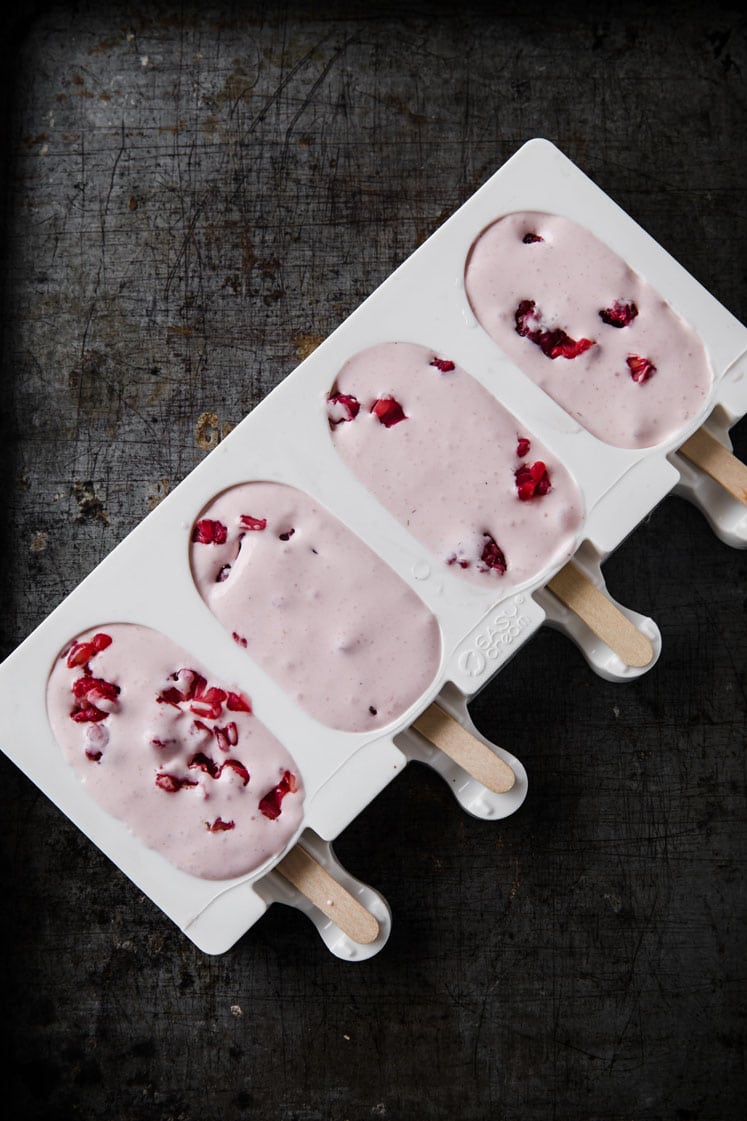
Press the fresh raspberries in after you pour, not before. Drop them in first and they float up into a cluster at what will become the bottom. Pushing them down into the poured mixture at a few different depths is what gets you fruit spread through the pop instead of gathered in one spot.
If your molds use loose sticks, wait until the pops have set for about an hour before you put them in. Sticks pushed into a liquid base drift sideways and freeze at an angle, and a crooked stick tears its way out. Into a partly frozen base they stand where you put them.
Use cool water to unmold, never warm. A few seconds of cool water running over the outside of the mold loosens the pop. Warm water melts the surface, and what you pull out is slick, cloudy, and already dripping down your wrist.
❄️ How to store them
Get them out of the molds once they are solid. Leaving them in ties up the tray and leaves them exposed to whatever else is in your freezer. Unmold, wrap each pop individually in parchment or slide it into its own small zip-top bag, and keep them all together in one larger container or bag.
Wrapped that way they keep about six weeks. They stay safe well beyond that, but this is a dairy-heavy pop and it picks up freezer smells and grows surface ice crystals once air reaches it, so six weeks is roughly where the texture stops being what you made. Squeeze the air out of the bag before you seal it.
Expect them to soften faster than a juice pop. All that mascarpone and heavy cream is exactly why the texture is velvety rather than icy, and it is also why these do not hold up on a hot patio the way a water-based popsicle does. Serve them straight from the freezer, and take them out one at a time rather than setting the whole batch on the table. If one does soften too far, put it back in the freezer standing upright rather than lying flat, so it re-sets in its own shape.
💬 FAQs
How long do these popsicles need to freeze?
The recipe calls for about 3 hours in the freezer, though the exact time can vary depending on your freezer’s temperature. To be safe, you can leave them overnight.
How do I get the popsicles out of the mold without breaking them?
Silicone molds make this pretty easy — just gently squeeze and push up from the bottom. If they’re sticking, run the outside of the mold under cool (not warm) water for a few seconds to help loosen them.
Can I make these ahead of time?
Absolutely. That’s actually the best way to make them. Blend and fill the molds the day before you need them, freeze overnight, and they’ll be ready to go.
Can I use fresh berries instead of frozen?
Frozen berries are called for in the blended base and work best here since they help keep the mixture cold and thick as it blends. Fresh berries are used for the pieces added to the molds, and those should stay fresh.
📚 More recipes to try
🍽 Recipe
Email Recipe
Enter your email below and we’ll send you this recipe!
Berries and Cream Popsicles
Ingredients
Blend Together:
- ¾ cup 180g mascarpone cheese
- 1 cup 240mL heavy whipping cream
- 1 cup 140g frozen strawberries
- ¾ cup 105g frozen raspberries
- 2 tablespoons 24g powdered monk fruit sweetener
- 1 ½ teaspoon vanilla extract
Add To Popsicle Molds After Blending:
- 9 fresh raspberries, ~30g, roughly chopped
Materials:
- Blender
- Mini Popsicle Silicone Molds
- Wooden Popsicle Sticks
Instructions
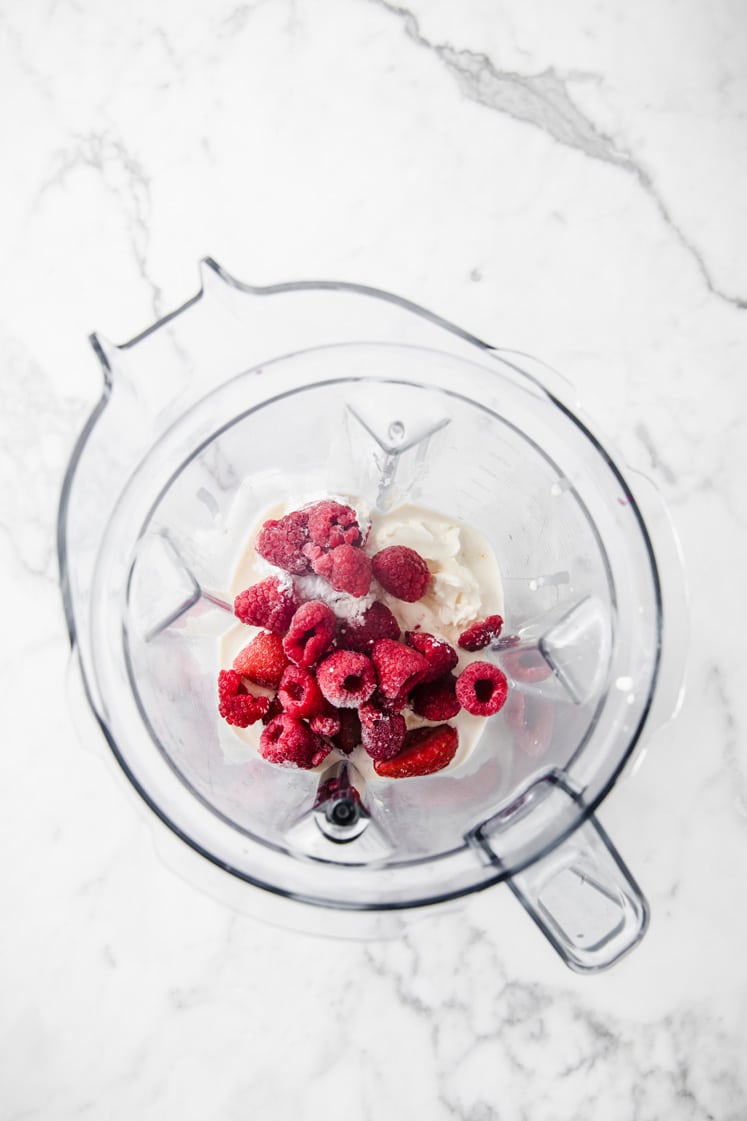
- To a blender, add mascarpone, heavy cream, strawberries, raspberries, powdered monk fruit sweetener, and vanilla extract. Pulse until smooth.
- Pour mixture into individual popsicle molds. Add chopped fresh raspberries to molds. Place wooden popsicle stick in center of individual popsicle mold cavities.
- Transfer molds to freezer to chill until fully set, about 3 hours, depending on temperature of freezer, before removing popsicles from individual molds and serving.













Leave a Reply