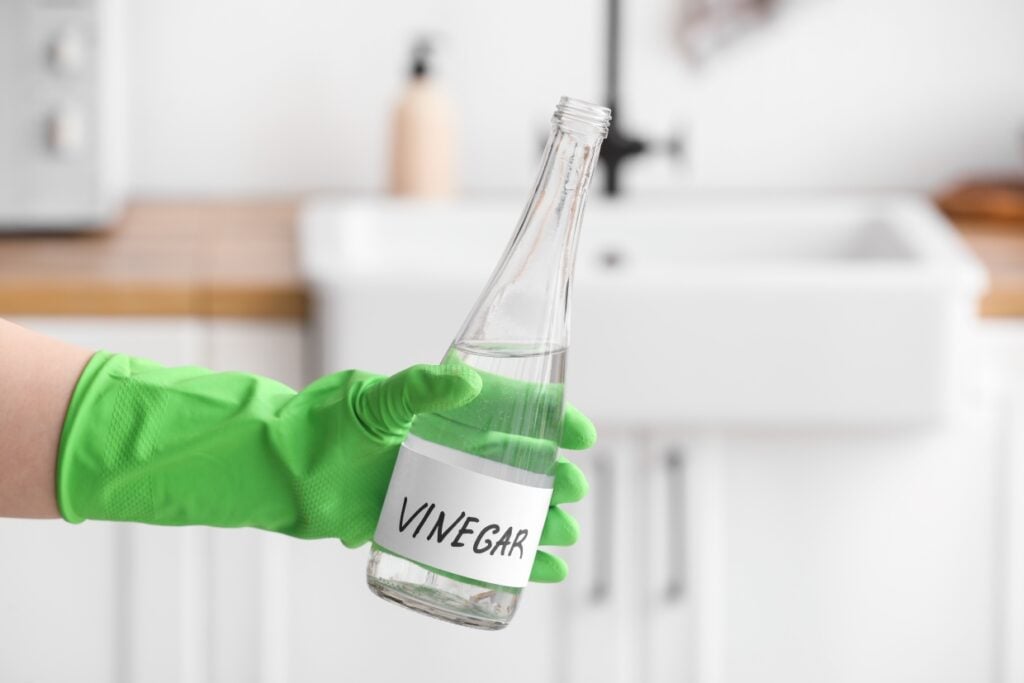
Keeping your coffee maker clean is key to both the flavor of your coffee and the life of your machine. Over time, minerals from hard water can collect inside, affecting the taste and even leading to wear on the machine. Cleaning it with vinegar is a simple and budget-friendly way to clear out these deposits and freshen up your coffee maker.

Cleaning your coffee machine with vinegar is simple: just run a mix of water and vinegar through it to break down mineral buildup and oils left from coffee. Vinegar’s a natural cleaner, so it’s also eco-friendly. Doing this regularly keeps your coffee maker in great shape and your coffee tasting fresh.
Benefits of cleaning with vinegar
Cleaning your coffee maker with vinegar has several advantages. These include:
- Effectiveness: Vinegar is highly effective at removing mineral buildup and oils from coffee beans. These can all affect the taste of your coffee.
- Non-toxic: It is a safe, non-toxic alternative to many chemical cleaners. This ensures that no harmful residues are left behind.
- Affordability: Vinegar is economical. It costs less than specialized coffee maker cleaners.
- Accessibility: You may already have vinegar in your kitchen. If not, you can easily find it at any grocery store.
- Simplicity: The cleaning process is straightforward and can be performed with minimal effort. You’ll just need to prep the materials, run a cleaning cycle, then rinse.
- Environmentally friendly: Vinegar is biodegradable and less harmful to the environment compared to synthetic cleaning agents. It breaks down naturally and is safer than many other cleaners.
Vinegar’s mildly acidic nature is gentle on the coffee maker’s internal parts, which helps to maintain the machine’s longevity by disinfecting and deodorizing it. Regular maintenance with vinegar can result in a better-tasting cup of coffee and a longer-lasting appliance.
Preparing your coffee maker for cleaning
Before your cleaning coffee maker with vinegar, ensuring safety and having the correct materials at hand are critical. Doing this prevents damage to the appliance and ensures an effective cleaning process.
Safety precautions
Before beginning the cleaning process, it’s essential to take certain safety measures to protect both you and your coffee maker. These precautions are simple, but they are crucial to a safe and effective cleaning routine.
- Unplug the coffee maker: Make sure that the appliance is unplugged and cool to the touch to avoid electric shock or burns. This step is an essential part of any electrical appliance maintenance to prevent accidents.
- Remove any leftover coffee grounds: Dispose of any remaining coffee or coffee grounds from the filter basket. This prevents mold from forming and the grounds from clogging during the cleaning process.
- Review the manufacturer’s manual for guidance: Review your coffee maker’s manual for any specific instructions or warnings about using vinegar or other cleaning agents. Each model has different recommendations or restrictions.

Gathering necessary materials
Grab these few items to keep cleaning quick and easy, so your coffee tastes great every time:
- White vinegar: This is used as a descaling agent to remove buildup. It’s important to use white vinegar as it is effective yet gentle enough not to damage the internal components of your coffee maker.
- Water: This will dilute the vinegar and rinse the machine. It will help to make sure that all of the vinegar residues are thoroughly removed.
- Clean, dry cloth: To wipe down the exterior of the coffee maker. This step is crucial for removing any spills or stains on the outside, keeping your coffee maker looking as good as new.
- Bowl or mug: Catches any vinegar solution during the cleaning cycle. Make sure the container is large enough to prevent any mess.
- Soap: This cleans the removable parts post-vinegar treatment. Use a mild, non-abrasive soap to ensure that the parts of your coffee maker are cleaned without being damaged.
“Cleaning a coffee pot with vinegar is a frugal hack I learned from my mother. Because we had hard water, there would be buildup in the coffee pot, and everything would brew more slowly. So, she taught me how to use vinegar to clean it out. Also, pro tip: use white vinegar — not apple cider or any other kind of vinegar — and then run through a few brewing cycles with water before using again to get rid of the vinegar flavor and smell.”
— Leah Ingram, Real Sophisticated Consumer
Cleaning process
Like cleaning other kitchen appliances, regular cleaning of the coffee maker is essential for maintaining its performance and ensuring the best flavor from your coffee. These steps cover the safe and effective use of vinegar as a cleaning agent for your coffee maker:
Step 1: Mixing the vinegar solution
First, create a cleaning solution with equal parts water and white vinegar. For a standard coffee maker, you will typically need a mixture of 4 cups of water to 4 cups of vinegar.
Step 2: Running the cleaning cycle
Once the solution is ready, pour it into the coffee maker’s water reservoir. Initiate a brewing cycle and allow the solution to run through the machine completely.
After the cycle finishes, the acidic properties of the vinegar will have helped to dissolve any limescale or oil buildup inside.
Step 3: Rinsing the coffee maker
Fill the water reservoir with fresh water and run at least 2 full brewing cycles. Inspect the coffee maker for any lingering vinegar smell or taste. Repeat the rinsing process until the water runs clear and the smell is no longer present.
Maintenance tips
Maintaining a coffee maker ensures its longevity and the quality of the coffee it brews. A consistent cleaning regimen removes mineral buildup and coffee oils that can affect taste and function.
Regular cleaning schedule
Keeping your coffee maker in top shape doesn’t take much, but a consistent routine can make all the difference — especially if you’re a daily peppermint mocha fan. After each use, discard any coffee grounds, and give the pot, filter basket, and lid a quick wash with warm, soapy water. A simple wipe-down of the exterior keeps stains and spills at bay.
For easy maintenance, here’s a quick schedule to follow:
- Daily: Empty used grounds, rinse the carafe, and wipe the exterior with a damp cloth.
- Weekly: Wash the carafe, filter basket, and any removable parts with warm, soapy water.
- Monthly: Deep clean by running a 1:1 solution of water and vinegar through the machine, followed by two rinse cycles with plain water.
Avoiding common mistakes when cleaning
While cleaning a coffee maker with vinegar is simple, there are a few common mistakes that can impact the effectiveness of the process. Here’s what to avoid:
- Skipping the rinse cycles — After running the vinegar solution, always run at least two rinse cycles with plain water. This removes any lingering vinegar smell or taste.
- Not using white vinegar — Stick to white vinegar only. Other types, like apple cider vinegar, can leave an unpleasant flavor or odor behind.
- Ignoring the carafe and filter basket — The carafe and filter basket collect coffee oils and residues over time. Be sure to wash these with warm, soapy water after each cleaning session to keep everything fresh.
These small steps ensure you get the full benefit of cleaning your coffee maker and keep your coffee tasting just right.
Final thoughts
Cleaning your coffee maker with vinegar is a good move. It’s cheap, easy to find and safe to use. Regular cleaning with vinegar will keep your coffee tasting great and your machine running well for a long time.
Just mix equal parts water and vinegar, run it through the machine and then rinse with water. Doing this simple thing every month will help a lot. So, next time your coffee starts to taste a bit off, remember that vinegar is your friend for a quick, easy clean that will get things back to normal so you can enjoy your morning cup and a slice of coffee cake.
Portions of this article originally appeared on Food Drink Life.


Leave a Reply