A microwave is one of those kitchen appliances that gets a lot of use, but not always as much cleaning attention as it should. From reheating leftovers to making quick meals, it’s easy for spills and splatters to build up over time. Keeping it clean is crucial for hygiene and helps your microwave work better.
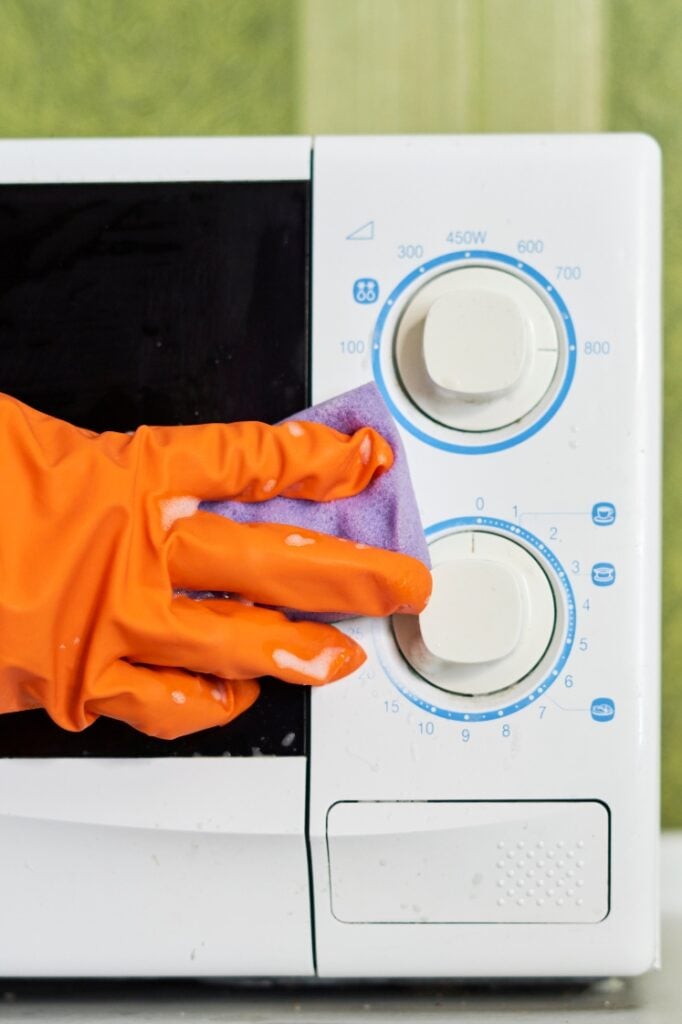
This guide simplifies this task by providing you with a quick and thorough method. It aims to make cleaning your microwave less of a chore and more of a quick and satisfying task. By incorporating these steps into your regular cleaning routine, you can ensure your microwave remains in top condition, both in terms of appearance and performance.
Supplies
You’ll need a few basic supplies for this process. First, gather the items below before moving on to the cleaning process:
- A microwave-safe bowl
- Water
- Lemon or vinegar
- A sponge or cleaning cloth
- Dry cloth or paper towels
Additionally, you might want to have some baking soda on hand for tougher stains and odors.
Cleaning steps
These easy-to-follow instructions for how to clean a microwave involve steaming and wiping the interior. Each core step is streamlined to ensure a thorough clean with minimal effort in the quickest time.

Prepare your cleaning solution
First, fill a microwave-safe bowl with water and add lemon slices or a couple of tablespoons of vinegar. These natural cleaners are great for cutting through grease and neutralizing odors. Lemon not only helps with cleaning but also leaves a fresh, citrus scent, making your microwave smell pleasant.
“Tackling the microwave is a breeze with a trusty trio of vinegar, lemon juice and baking soda. These kitchen staples dissolve stubborn stains and leave my microwave smelling fresh and clean. No harsh chemicals, just the power of DIY cleaning for a spotless kitchen, inside and out.”
— Jessica Haggard, Easy Homemade Life
Steam clean with the cleaning solution
Heat the cleaning solution in the microwave on high for about five minutes. The steam will help loosen any stuck-on food. Be sure to use a microwave-safe bowl to avoid any accidents or damage to your microwave.
Let the steam work
After the timer goes off, don’t open the microwave right away. Leave the door closed for a few more minutes to let the steam do its magic. This additional time allows the steam to penetrate and soften any stubborn grime, making it easier to wipe away.
Wipe it down
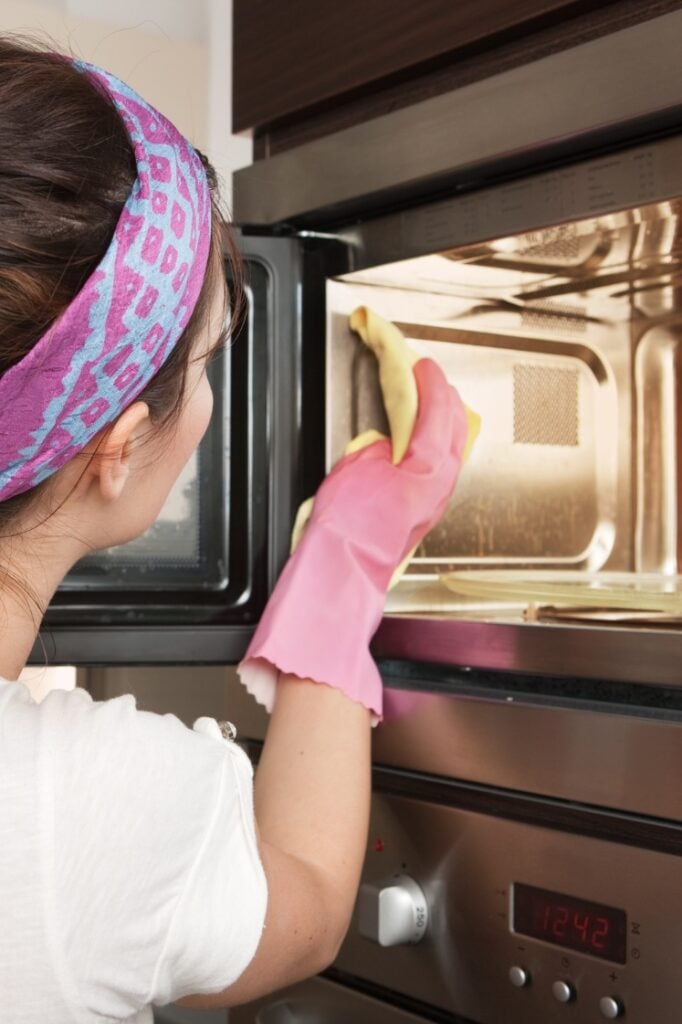
Carefully remove the bowl, then wipe the inside of the microwave with your sponge or cloth. Thanks to the steam, you’ll find wiping down the microwave to be a breeze, significantly reducing the time and effort usually needed. For particularly stubborn spots, you can dip your sponge or cloth in the remaining cleaning solution for an extra boost.
Wash the turntable
Remove the turntable and wash it by hand in soapy water for a deeper clean. This helps to remove any remaining residues and ensures every part of your microwave is sparkling. Make sure to dry it thoroughly before placing it back in the microwave to prevent any water spots.
Don’t forget the door
The seals and edges of the microwave door are often overlooked spots where food particles and splatters can accumulate, especially after reheating foods like soup or tomato-based dishes. If not cleaned regularly, these areas can harbor bacteria and lead to unpleasant smells. Use a damp cloth or sponge to wipe around the door seals and edges thoroughly. You might need to use a bit of your cleaning solution for tougher stains. Make sure to get into the crevices and hinges where grime can easily get trapped. Paying attention to these details ensures that every part of your microwave is hygienic and odor-free.
Dry and shine
Finish by drying the interior with your dry cloth or paper towels. This is to ensure that no water spots are left behind, leaving a clean and polished surface. A final polish not only makes your microwave look great but also helps to prevent any future buildup of grime.
Spot Cleaning
Tackling microwave grime quickly helps maintain hygiene and efficiency. Focus on removing stubborn spots and preventing potential damage during cleaning. Regular maintenance not only keeps your microwave looking clean but also ensures it operates effectively, reducing the risk of lingering odors or contamination of food.
Removing Tough Spots
For hardened food residues, use a damp cloth or sponge soaked in warm, soapy water. Apply gentle pressure to loosen debris. A solution of equal parts water and vinegar can help soften greasy spots. Heat a bowl of this mixture in the microwave for 5 minutes to create steam; this loosens grime for easier wiping. The steam generated from the heated solution helps break down food particles and grease, making it easier to clean without excessive scrubbing.
Consider using baking soda on a damp cloth for stubborn stains. Scrub gently to avoid scratching surfaces. Baking soda is a natural abrasive that can effectively remove tough stains without causing damage. Avoid using abrasive pads or harsh chemicals, which can damage the microwave’s interior. These substances can leave scratches or residues that may compromise the appliance’s functionality and safety. Regular cleaning with gentle, natural solutions ensures your microwave remains in top condition.
Cleaning the outside of the microwave
Cleaning the outside of a microwave that’s placed above a stovetop, where it’s prone to splatters and grease from cooking recipes like Tuscan chicken, requires a gentle yet effective approach. Here’s a straightforward method to tackle this:
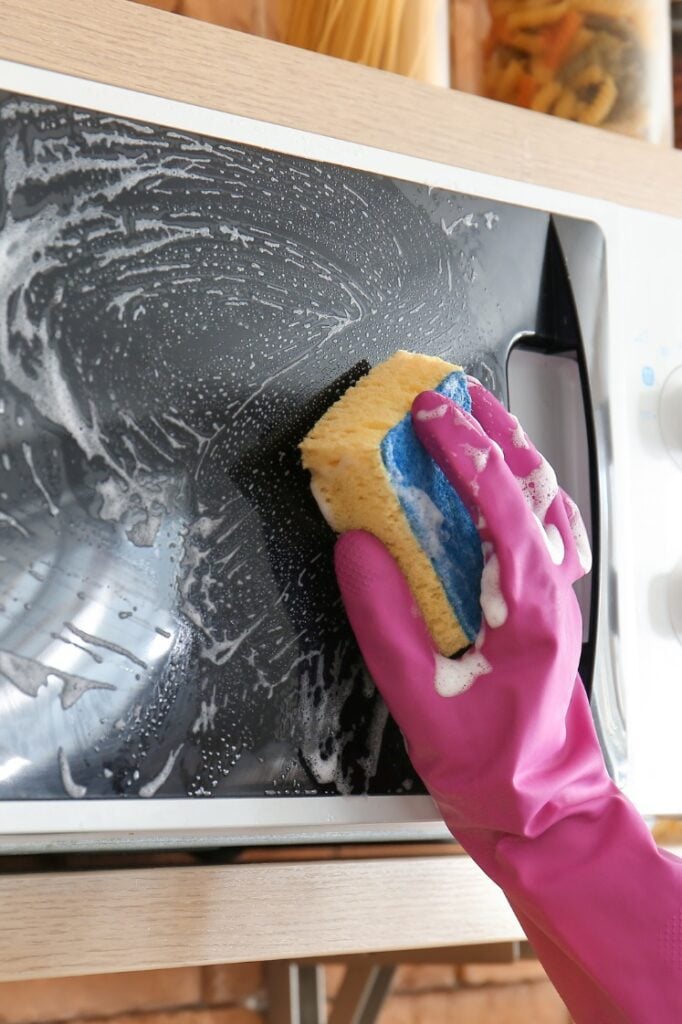
- Prepare your cleaning solution: Mix together a solution of warm water and mild dish soap. The soap will help cut through the grease and food splatters. If the splatters are particularly greasy, you can add a small amount of baking soda to the mix for extra grease-cutting power.
- Use a soft cloth or sponge: Dip a soft cloth or non-abrasive sponge into the soapy water solution. Wring it out so it’s damp but not dripping. You want to avoid excess moisture seeping into the microwave’s vents or electronic panel.
- Gently wipe the exterior: Gently wipe the exterior of the microwave, paying particular attention to areas where grease and food splatters are visible. Be careful not to push debris into the vent for the vent and fan area. Instead, gently wipe the surface and use a soft-bristled brush to loosen any stuck-on particles.
- Tackle stubborn spots: For more stubborn spots, let the soapy water sit on the area for a few minutes to soften the grime before wiping. You can also use a mixture of equal parts vinegar and water as an alternative solution for tough grease. Spray it on, let it sit for a few minutes and then wipe it off.
- Rinse and dry: Rinse the cloth with clean water and wipe over the microwave to remove any soap residue. Finally, dry the exterior with a clean, dry towel to prevent streaks and water spots. For a final touch, you can use a stainless-steel cleaner if your microwave has a stainless-steel exterior, ensuring it looks shiny and new.
When cleaning any electrical appliance, especially around vent areas, be gentle and avoid using too much liquid. This method should help keep your microwave clean and maintain its appearance, even when it’s situated in a high-splatter zone like above a stovetop.
Regular cleaning can prevent stubborn stains and smells
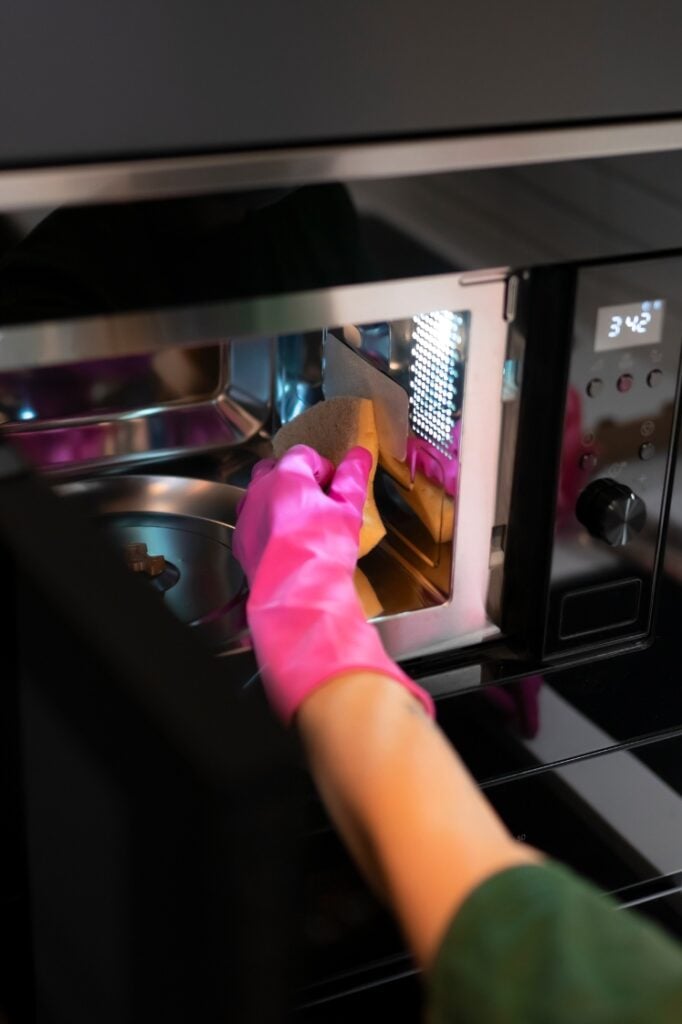
Like cleaning other small appliances, knowing how to clean a microwave regularly is critical to avoiding those tough, baked-on stains and lingering smells. When we use our microwaves daily, bits of food and splatters can quickly build up. If these aren’t cleaned often, they can harden and become much harder to scrub off. They can also start to smell, which nobody wants. How do you ensure your microwave is cleaned as scheduled?
Incorporate these tips into your routine
Incorporating these cleaning tips into your regular routine can help maintain your microwave’s cleanliness and functionality. Setting a reminder to clean your microwave weekly can prevent buildup and make each cleaning session quicker and easier. Regular maintenance ensures that your microwave remains a reliable kitchen tool, ready to heat your meals efficiently.
Make it a family task
Cleaning the microwave can be a quick and simple task that you can assign to different family members. Making it a shared responsibility ensures that everyone contributes to maintaining a clean kitchen. Teaching kids how to clean the microwave can also instill good habits early on, making them more likely to keep their own appliances clean in the future.
Staying on top of microwave cleaning means your microwave not only looks better but also may work better. When the inside is clean, your microwave can heat your food more evenly. Plus, cleaning up spills right away stops bad odors from sticking around and coming back every time you heat something up. Incorporating a quick wipe-down after each use can make a significant difference in maintaining your microwave.
By following these steps, you can enjoy a cleaner, more hygienic kitchen environment. A clean microwave not only looks better but also functions more effectively, ensuring your food is heated evenly and safely. Regular cleaning can prevent the spread of bacteria and reduce the risk of foodborne illnesses, contributing to a healthier home.
Baking soda to absorb odors
Keeping a box of baking soda in your microwave when it’s not in use is a simple yet effective way to combat odors. Baking soda, known scientifically as sodium bicarbonate, is a natural odor absorber.
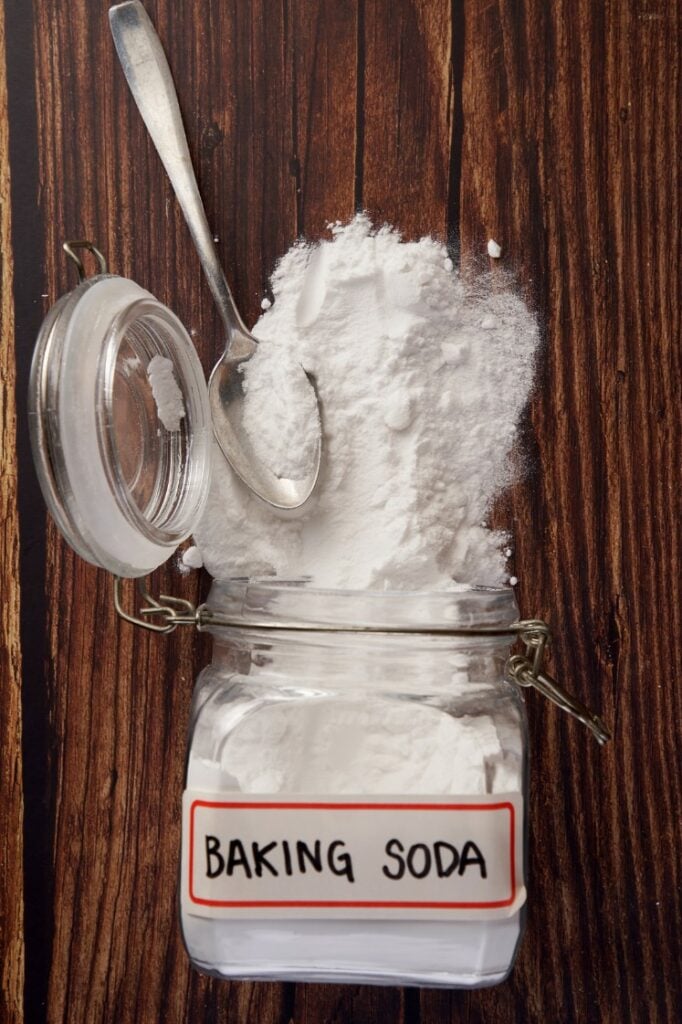
Baking soda neutralizes odors at the chemical level rather than just masking them. This is because it reacts with odor-causing acidic or basic odor molecules in the air, changing their structure to eliminate the smell. So, if there are lingering food smells in your microwave, baking soda can help neutralize them.
Simply place an open box of baking soda in the back corner of your microwave when it’s not in use. Remember to remove the box before using the microwave to heat food. For the best results, replace the baking soda box every three months. You might need to replace it sooner if your microwave is used frequently or if you notice that odors aren’t being neutralized effectively. This small step can make a big difference in maintaining a fresh-smelling microwave, especially if you frequently cook foods with strong odors like fish or garlic.
Final thoughts
This quick and easy method for how to clean a microwave revolutionizes how you take care of this small appliance, making it faster and more efficient than ever. With just a few simple steps and natural ingredients, you’ll be able to maintain a clean and fresh microwave, fitting seamlessly into your busy schedule. This approach not only saves time but also enhances the overall cleanliness and functionality of your microwave. Moreover, using natural ingredients ensures a safe environment for your food and reduces your exposure to harsh chemicals.
Portions of this article originally appeared on Food Drink Life.


Leave a Reply