
Our grandparents kept their pantries stocked with certain foods because they were affordable, easy to cook with, and lasted a long time without refrigeration. They weren’t trying to be trendy — they just used what worked. But over the years, many of those staples disappeared as fresher foods became easier to get.
Now, though, grocery costs are climbing again, and having pantry basics on hand makes sense. These old-school staples like barley, dried peas, and canned salmon don’t spoil quickly and are simple to cook. Here’s how you can easily use seven pantry staples our grandparents relied on and why it’s worth having them in your kitchen again.
Jarred Capers
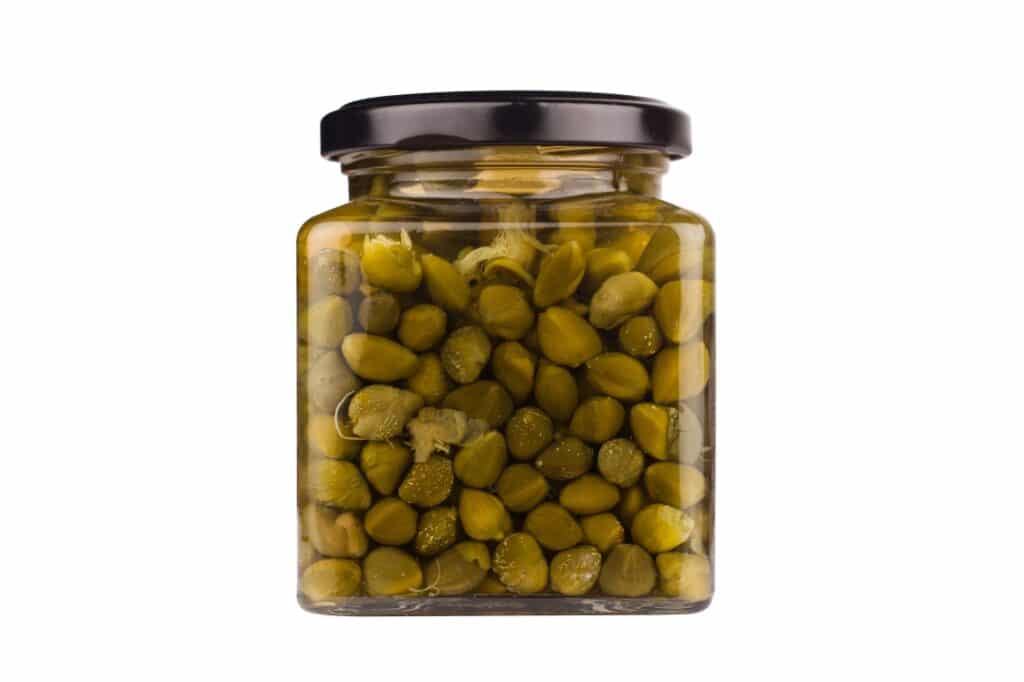
Jarred capers are one of those pantry ingredients people buy for a specific recipe and then forget about. They’re small flower buds, preserved by brining, which gives them their salty, tangy bite. If you have an old jar sitting around, it’s worth another look — they keep almost indefinitely unopened, and months once open, if refrigerated.
First off, always drain capers before using. Straight from the jar, they’re too salty and can overpower dishes. A quick rinse under cold water helps tone down saltiness. After rinsing, pat dry with a paper towel. To mellow their sharpness even more, soak briefly in cold water for about 10 minutes, then drain again.
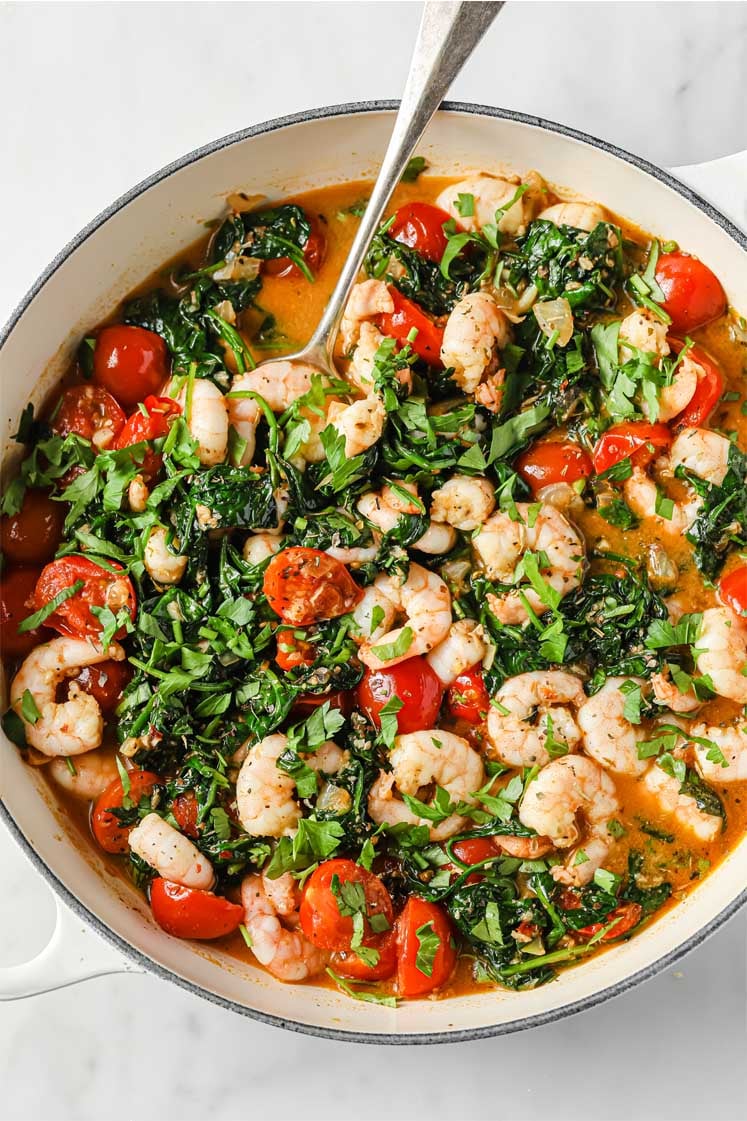
Capers add quick flavor boosts to everyday dishes. Toss them whole into pasta sauces, salads, or sandwich spreads to add briny tang without extra prep. Or, use them as a topping on something like these cucumber and dill smoked salmon appetizers. Cooking them gently in olive oil softens their flavor, making them great with sautéed chicken or fish. They pair especially well with lemon, garlic, and tomatoes.
For more texture, fry drained capers briefly in hot olive oil until they crisp up — just about 1-2 minutes. Fried capers give salads, fish, or vegetable dishes a salty crunch similar to bacon bits. Store leftover fried capers in an airtight container at room temperature for several days.
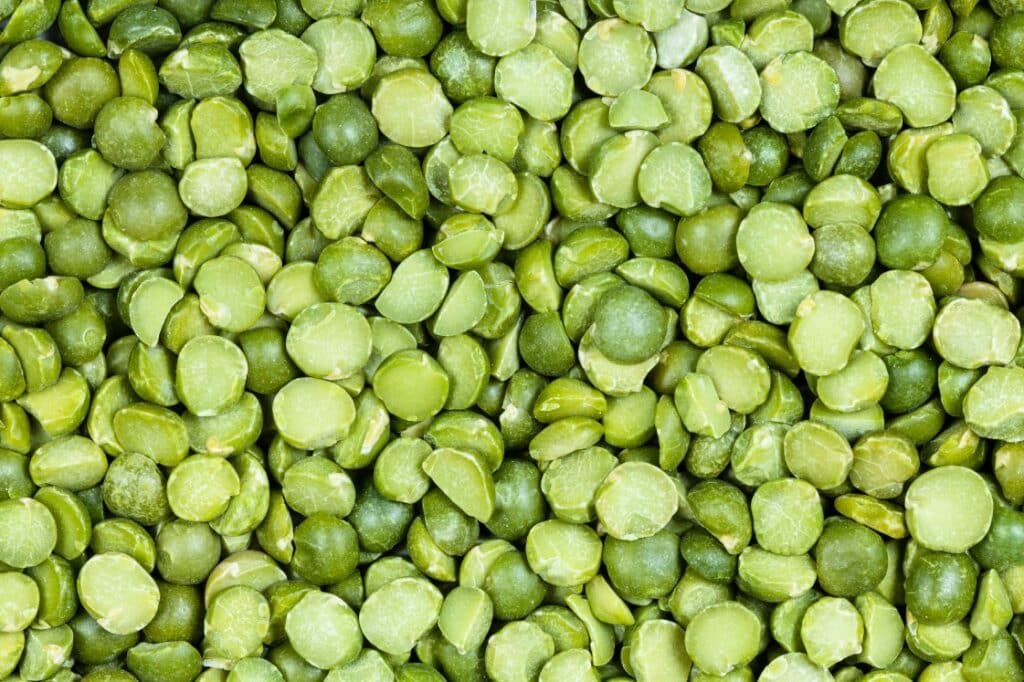
Dried Split Peas
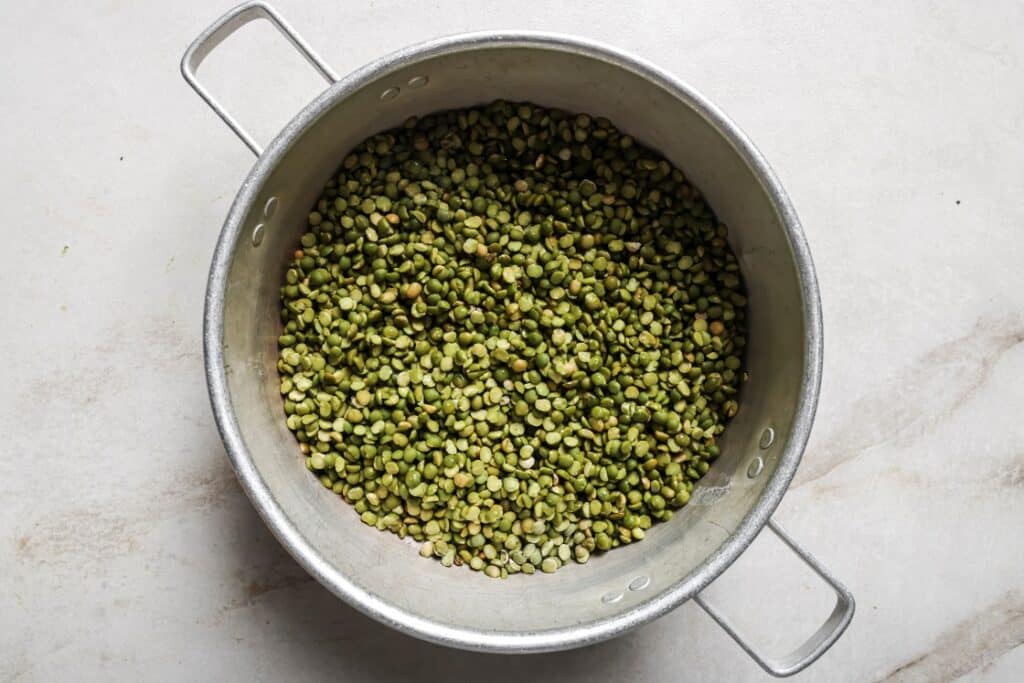
Dried split peas were pantry staples decades ago because they’re affordable, store almost indefinitely, and make filling meals without fuss. They’re easy to overlook now, but they’re simple to prepare and cook quickly compared to other dried legumes.
First, split peas don’t require soaking, unlike beans or whole legumes. But they do need a quick rinse to remove dust or small debris. After rinsing, add them to a pot with about three cups of water or broth per cup of peas. They expand significantly, so use a bigger pot than you’d think. Bring to a boil, then reduce to a gentle simmer. Avoid boiling too aggressively, since it can make them foam or boil over.
Cooking takes about 30-45 minutes. Test by stirring; the peas should start breaking down naturally. If you’re going for traditional split pea soup, add chopped carrots, onions, celery, and garlic at the beginning. Ham or bacon can be added if you’d like, but it’s optional. Season with salt toward the end, since salting early can toughen legumes. For a thicker stew-like consistency, simmer longer to let it naturally thicken, or try this easy slow cooker split pea soup recipe if you’d rather set it and forget it.
If soup doesn’t sound appealing, cooked split peas also work well as a base for veggie patties or fritters. To make them, start by draining any excess liquid, then mash the split peas with your choice of spices and enough flour to hold everything together. Shape the mixture into small cakes or patties, and pan-fry in a lightly oiled skillet until they’re crisp on both sides.
Powdered Milk

Powdered milk has mostly disappeared from kitchens because fresh milk is easy to get now. But decades ago, families kept it around because it’s affordable, convenient, and shelf-stable for years. It still has practical uses beyond emergencies or camping trips.
To turn powdered milk into regular milk, use warm water and a whisk to help it dissolve fully. Since this type isn’t instant, it takes a little more mixing to get smooth. Once it’s fully combined, let it chill in the fridge for a bit. That helps get rid of the chalky texture and makes it easier to use in recipes or drinks.
Powdered milk is especially handy in baking and cooking. For baked goods like breads or muffins, you can add the powder directly to the dry ingredients without mixing it into liquid first. Use about one-third cup powder per cup of liquid milk required. This helps baked items brown evenly and improves the texture without changing flavor.
It also works in soups and sauces for extra creaminess. Whisk it directly into soups, gravies, or pasta sauces. Just sprinkle in gradually to avoid lumps. Powdered milk won’t curdle like fresh milk sometimes can, making it a convenient thickening agent.
Barley

Barley used to be common in home kitchens because it’s inexpensive, versatile, and cooks up hearty. The reason it dropped off? People moved toward quicker grains like rice or quinoa, but barley deserves another look.
You’ll typically find two main kinds: pearl barley and hulled barley. Pearl barley is faster-cooking because it’s had the outer husk and bran layers polished off, but it loses a bit of fiber. Hulled barley still has more nutrition intact but needs longer cooking, usually about an hour.
To cook barley, rinse it first to clear away any dust or grit. Combine one cup of barley with about three cups of water or broth. Bring to a boil, then reduce heat and let simmer uncovered. Pearl barley cooks in about 25-35 minutes. You’ll know it’s done when the grains plump up but still have a slightly chewy center. Hulled barley will take closer to an hour and might require extra water. Keep an eye on the pot and add a little liquid if it starts looking dry.
Cooked barley keeps well in the fridge for about five days, making it perfect for meal prep. Stir it into soups and stews for texture and bulk. It’s especially good in beef or vegetable soups, since the grains absorb flavors. Or use it cold, tossed with chopped veggies and a vinaigrette, as a substantial grain salad. Barley might seem old-school, but it’s practical, easy, and worth putting back on the grocery list.
Rice Grits
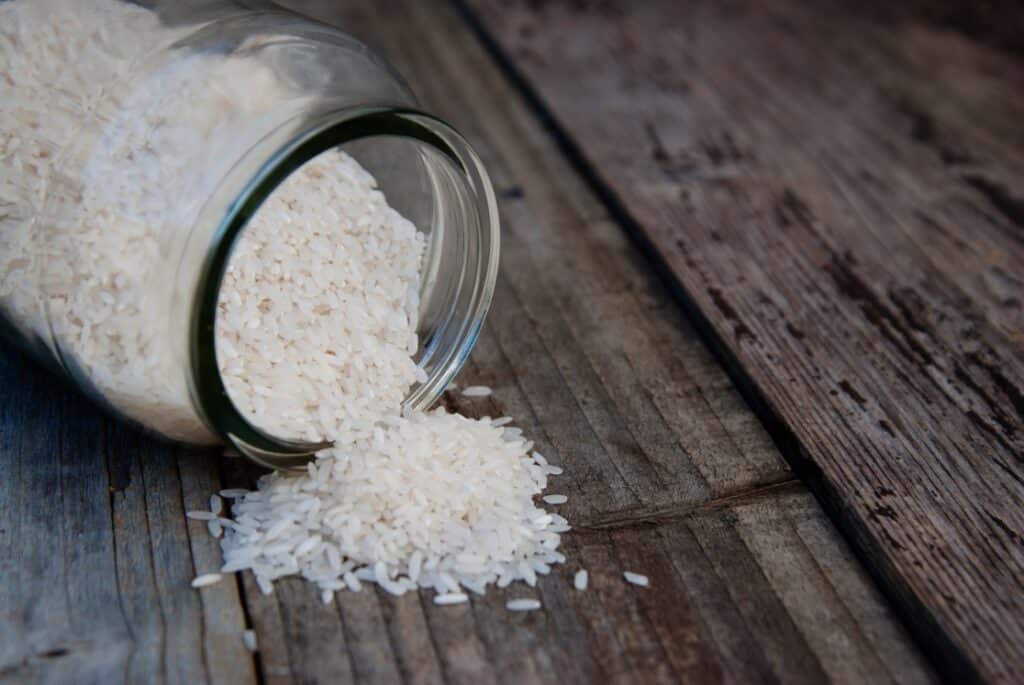
Rice grits aren’t common today, but decades ago, they were regularly in rotation. They’re essentially broken pieces of rice grains, similar in texture to corn grits but lighter and quicker to cook. Rice grits were pantry staples because they’re inexpensive and cook up easily.
Preparation is straightforward. Use a ratio of about one cup of rice grits to three cups of water or broth. Bring the liquid to a boil, stir in the rice grits, then immediately lower to a simmer. Keep the pot partially covered so steam escapes slowly — this prevents anything from boiling over and helps achieve a creamy, even texture.
Cooking time runs around 15-20 minutes. Stir frequently, especially toward the end, to avoid sticking or scorching. When done, the texture should be creamy but still hold a bit of individual grain shape. If it looks too thick or gummy, stir in a small amount of water, broth, or milk to loosen it up.
Rice grits are neutral, so they’re perfect for savory or sweet dishes. Stir in butter, salt, and cheese for a savory side dish, or top with sautéed vegetables or shrimp. For breakfast, sweeten lightly and serve topped with fresh fruit or preserves. They also store well in the fridge for several days, reheating smoothly with just a splash of liquid.
Anchovy Paste

Anchovy paste isn’t something most people reach for regularly, probably because it sounds overly fishy or intimidating. But there’s a reason it was once a pantry essential — anchovy paste adds depth to recipes without tasting distinctly fishy.
First, don’t think of it as seafood; think of it as seasoning. Anchovy paste is simply ground anchovies blended with salt, oil, and sometimes vinegar. Its real job is boosting flavor. A small squeeze of the paste dissolves quickly into dishes, leaving behind savory, salty notes, not fishiness.
Using it is straightforward. For sauces, soups, or stews, start with a small amount (around half a teaspoon) and stir it into the base ingredients, allowing the heat to dissolve it completely. Tomato-based sauces especially benefit since the anchovy balances acidity and adds complexity.
It’s also useful in quick dishes. Mix a small amount into mayonnaise or salad dressings for a savory depth that’s subtle but noticeable. It’s great whisked into Caesar dressing, of course, but also try it stirred into pasta tossed with garlic, oil, lemon zest, and parmesan. You can even spread a thin layer on pizza crust before adding other toppings for extra savory flavor. The anchovy paste ties flavors together seamlessly.
Storage-wise, anchovy paste keeps for a long time refrigerated. Since it’s concentrated, a little goes far. Just squeeze air out before sealing to keep it fresh longer.
Canned Salmon

Canned salmon was once a pantry staple because it’s convenient, affordable, and requires zero prep. But as fresh seafood became widely available, canned versions got overlooked. It’s worth another chance because of its simplicity and nutritional value.
When opening a can, drain off the liquid first. Some brands include edible bones and skin, which seem off-putting but are actually soft, easy to mash up, and add extra calcium. If the texture bothers you, pick through and remove them, but it’s fine to leave them in.
You can quickly use canned salmon in salads and sandwiches, similar to tuna. For salmon salad, mash drained salmon gently with mayo, mustard, diced celery, and onion. Canned salmon also works well in patties or burgers, like these mini spicy canned salmon patties. Just mix salmon with breadcrumbs, egg, lemon juice, and seasonings, then shape into patties and cook in a lightly oiled pan until crispy and browned, about 3-4 minutes per side.
It’s also handy in pasta dishes. Toss salmon into cooked pasta with peas, garlic, and lemon zest. The salmon adds protein, making a basic meal more filling. Or stir it into chowders and soups just before serving to heat through without overcooking.


Leave a Reply