

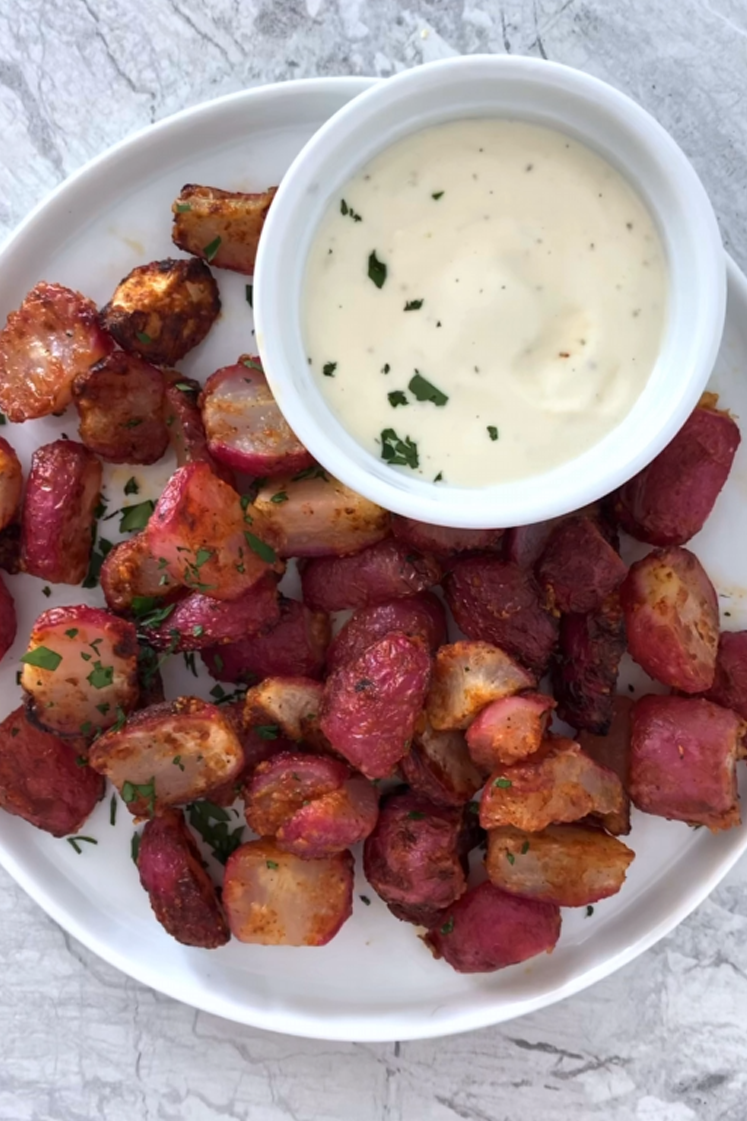

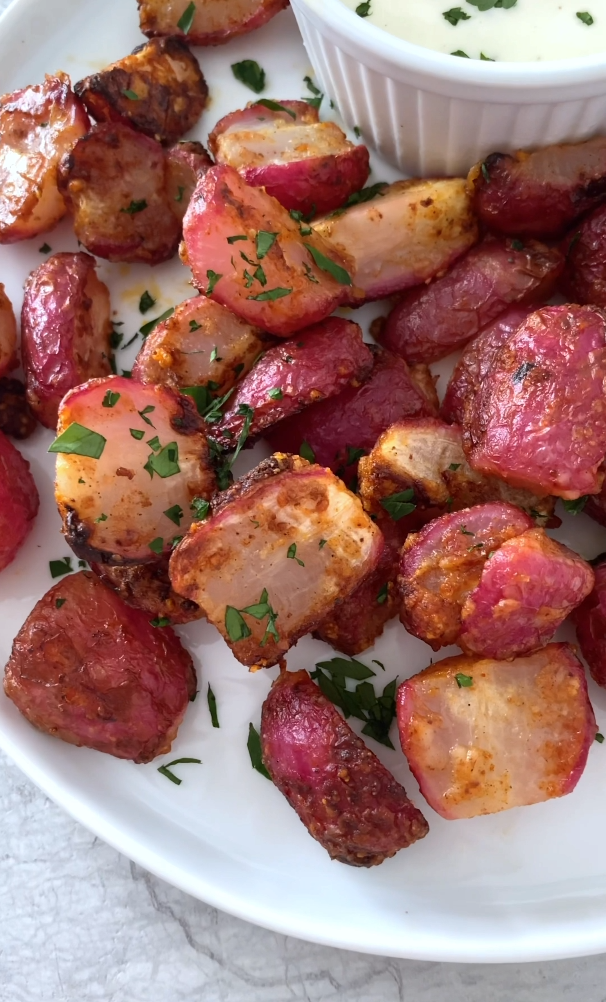
These Low-Carb Crispy Radishes are cooked to perfection in the Ninja Foodi With SmartLid. In just 30 minutes, you can prep, cook, and serve this delicious keto-friendly, nut-free, and gluten-free side dish!
This recipe was created in partnership with Ninja.
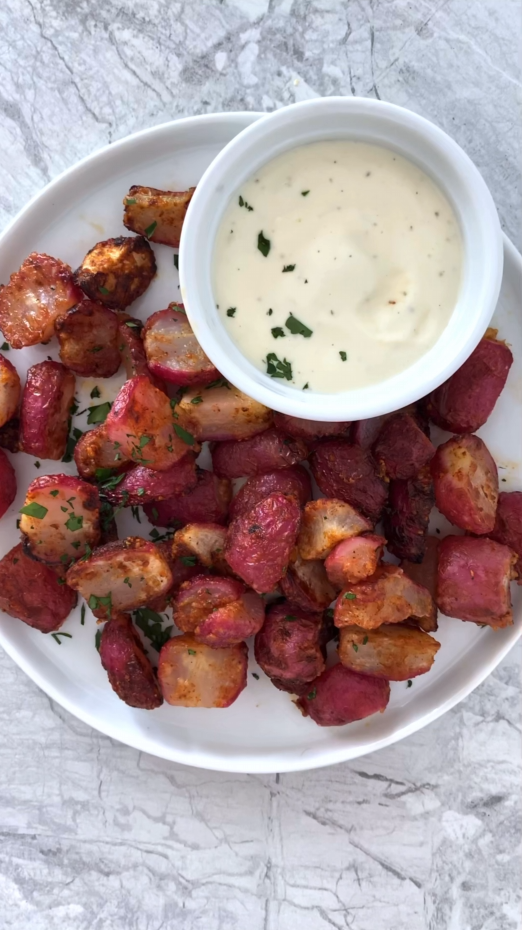
How to make these crispy radishes
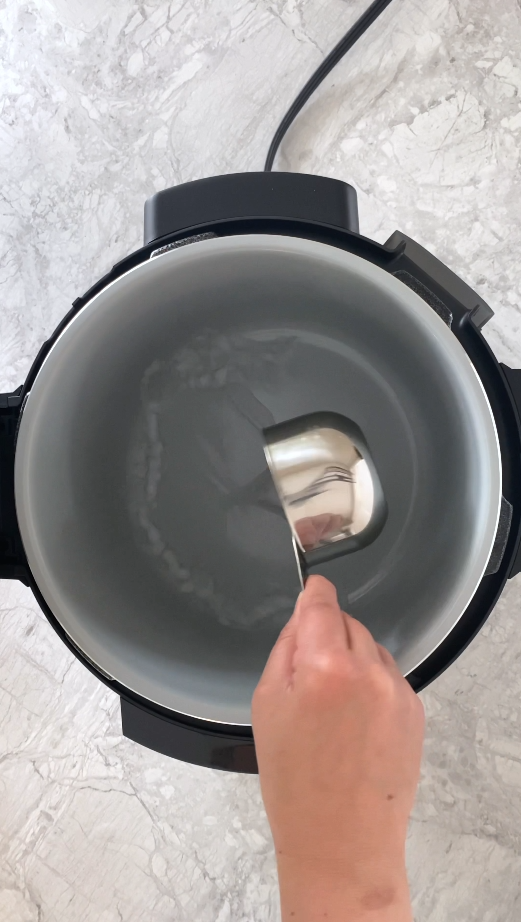
Add water to pot.
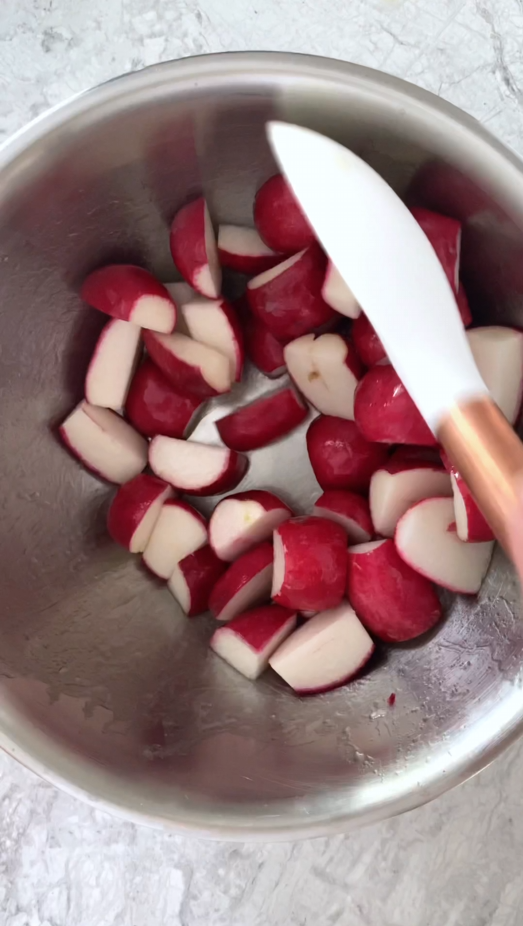
Crispy Radishes: In a mixing bowl, toss together radishes and avocado oil until evenly coated.
Pour radishes into Cook & Crisp Basket and place basket in pot.
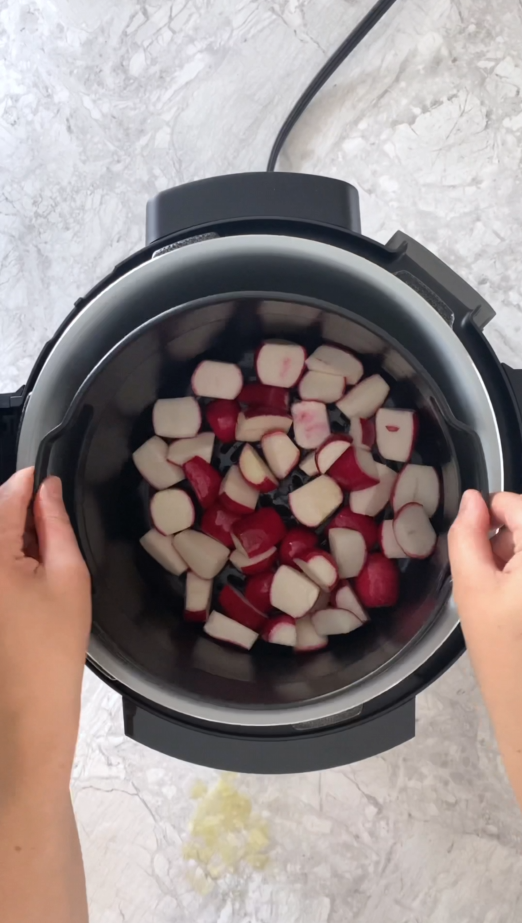
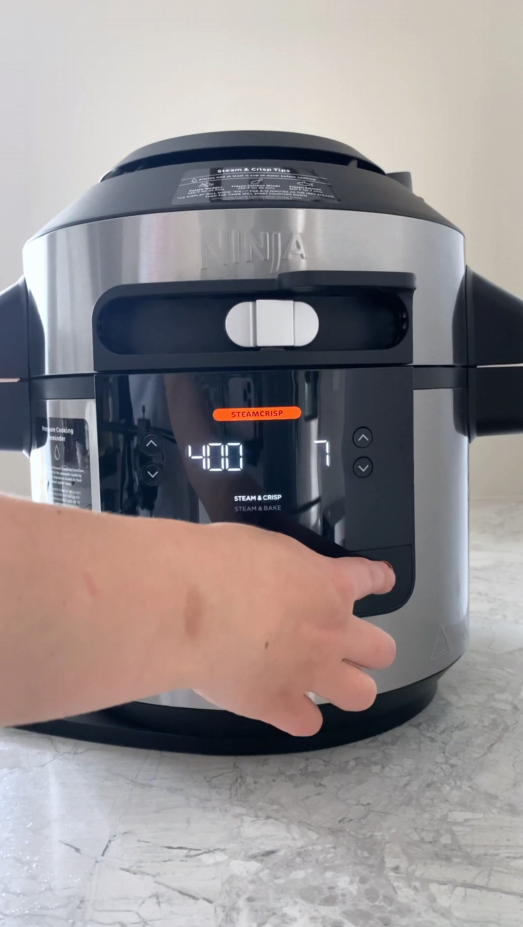
Close lid and move slider to “STEAMCRISP” setting.
Select “STEAM & CRISP” setting, set temperature to 400 degrees, and set time to 7 minutes. Press “START/STOP” to begin cooking (the screen will display “PrE” for ~8 minutes as the unit steams, then 7-minute timer will begin counting down).
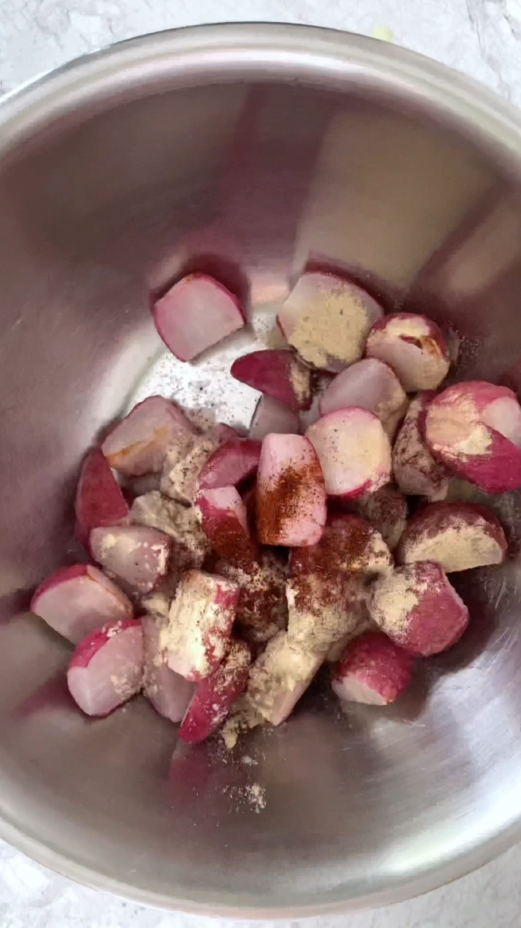
After radishes have finished cooking, transfer to a mixing bowl, sprinkle on garlic powder, pepper, paprika, and salt, then toss.
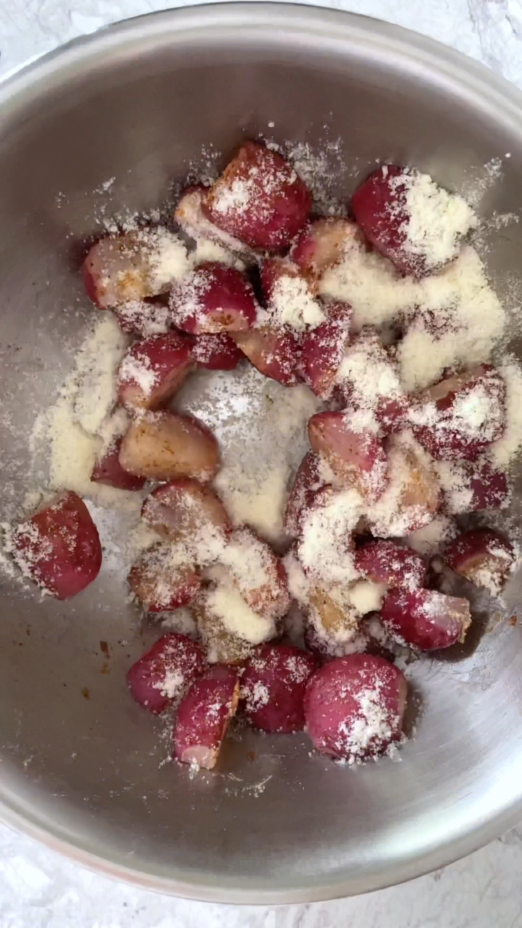
Sprinkle on grated Parmesan and toss until evenly coated.
Return radishes to Cook & Crisp Basket, close lid and move slider to “STEAMCRISP” setting, press “START/STOP,” and cook again at 400 degrees for additional 7 minutes.
Ranch Dipping Sauce: Optionally, while radishes cook, prepare ranch by mixing together all ingredients.
Final Steps: Open lid, spoon radishes out from Cook & Crisp Basket, and serve on a plate alongside ranch.
Email Recipe
Enter your email below and we’ll send you this recipe!
Ninja Foodi With SmartLid Low-Carb Crispy Radishes
Ingredients
- ½ cup 4 oz water
- 16 oz radishes, halved or quartered, depending on size
- 1 tbsp avocado oil
- ½ tsp garlic powder
- ½ tsp pepper
- ¼ tsp paprika
- ¼ tsp salt
- 2 tbsp 30g grated Parmesan cheese
Ranch Dipping Sauce (Optional):
- ¼ cup 60g mayonnaise
- 2 tbsp 30g sour cream
- 2 tbsp 30mL heavy whipping cream
- 1 tsp apple cider vinegar
- 1 tsp dried dill
- ¼ tsp garlic powder
- ⅛ tsp dried parsley
- ⅛ tsp onion powder
- ⅛ tsp pepper
- ⅛ tsp salt
Instructions
- Add water to pot.
- Crispy Radishes: In a mixing bowl, toss together radishes and avocado oil until evenly coated.
- Pour radishes into Cook & Crisp Basket and place basket in pot.
- Close lid and move slider to “STEAMCRISP” setting.
- Select “STEAM & CRISP” setting, set temperature to 400 degrees, and set time to 7 minutes. Press “START/STOP” to begin cooking (the screen will display “PrE” for ~8 minutes as the unit steams, then 7-minute timer will begin counting down).
- After radishes have finished cooking, transfer to a mixing bowl, sprinkle on garlic powder, pepper, paprika, and salt, then toss. Sprinkle on grated Parmesan and toss until evenly coated.
- Return radishes to Cook & Crisp Basket, close lid and move slider to “STEAMCRISP” setting, press “START/STOP,” and cook again at 400 degrees for additional 7 minutes.
- Ranch Dipping Sauce: Optionally, while radishes cook, prepare ranch by mixing together all ingredients.
- Final Steps: Open lid, spoon radishes out from Cook & Crisp Basket, and serve on a plate alongside ranch.












Leave a Reply