Are you wanting to instantly improve your food photography? Check out my 15 food photography tips for beginners to instantly improve your food photography for your food blog.
As most of you probably know, food photography is a HUGE part of food blogging. When done well, it can truly take your recipe posts to the next level!
There are a BUNCH of ways that you can instantly improve your photographs, but I’m going to clue you in on 15 food photography tips that I find to be the MOST helpful. I’m sure you’ll find them useful as well!
Getting Started
Tip #1: Camera and Camera Equipment
Camera
If you are just starting out and don’t have a camera at all, you may be wondering what the best camera for food blogging is (because, no, your iPhone is not going to cut it). While there a lot of viable options on the market, first and foremost, you should really consider investing in a DSLR, which stands for “Digital Single-Lens Reflex,” and is a camera that allows for lens selection, which will give you more options for customization.
The best camera for food photography for me has been my Canon Rebel. My Rebel is actually quite old, but has served me well over the years! With my Rebel, I use a Canon EF 50mm f/1.4 and I’m VERY happy with it!
Equipment
Food photography camera equipment may seem like a “luxury” in the beginning, but TRUST ME, it will make all of the difference in creating crisp, beautiful food photos.
The photography equipment that has been essential for me when shooting recipes:
- Tripod extender arm (more on this below)
Tip #2: Background
Reduce Distractions
The background of your photos can do wonders in making the food “pop.” Aside from the actual background board you use, first, you need to be sure to take your foods’ surroundings into account and edit the background as necessary. Remove clutter or non-desirable items from the shot and give your images a simple, non-distracting background.
Invest in a food photography board
- Wood Panels: When I first started out, I built backdrops with wood panels that I purchased from my local hardware store. I sanded the wood down, glued the pieces together, and, for some, painted them. They were basic, but they did the trick and the cost was cheap!
- Contact Paper: You can also even consider purchasing contact paper. Grab some marble contact paper and you can instantly add the illusion of a nice, sleek countertop to your photographs.
- Erickson Surfaces: After awhile, I invested in backdrops from Erickson Surfaces. They are double-sided boards made specifically for food blogging.
- Marble Slab: I almost always use a marble slab I purchased from Crate and Barrel for my backdrop now. I love it!
Tip #3: Props
Props are AWESOME for making your images stand out! Even just one prop can truly add so much life to your images. If you’re a Real Balanced reader, you’ve probably noticed my use of fabric and marble! These props make my images look professional and exciting, while also bringing a uniform feel, connecting all of my recipes.
- Fabric or Napkins: With so many different options and patterns out there, fabric and linen napkins are an inexpensive and foolproof way to bring life (and color!) to your images. I have purchased virtually all of my linen napkins at Crate and Barrel.
- Dishes: Like fabrics, dishes can bring nice pops of color to your images. Be sure to choose dishes that add to your photos. Don’t select dishes that clash in color or style! You don’t want them to take attention away from the food. When I’m thinking about composing an image, I try and use dishes that are either altogether white or, if I want to use color, I choose dishes that are complementary to the food I’m shooting (e.g., if I’m shooting a soup that is orange, I would choose dishes that are blue because orange and blue are complementary colors.)
- Cutting Boards: Fun and unique cutting boards make awesome props! I always see so many different options at my local TJ Maxx.
- Straws: Photographing a yummy drink, milkshake, or smoothie recipe? Spruce your glass up with a unique paper straw or stainless steel straw!
Lighting
Tip #4: Keep It Natural
As food bloggers and food photographers, natural light should be our best friend! Compared to artificial light, it is crisper, cleaner, and brighter. I always photograph my food right next to one of the largest windows in my home, which I hang a sheer curtain in front of to diffuse the sun. It makes my photos look infinitely better!
I suggest turning off all of your artificial lights and taking advantage of the crisp color that natural sunlight provides.
Typically, north-facing windows are the best for food photography but, since I don’t have a viable north-facing window in my house, I use an east-facing window and, depending on the time of the year, prefer to shoot around 9:00 AM or 1:00 PM.
Tip #5: Use a Scrape
When you illuminate your food from a side angle rather than the front or back, this is referred to as a scrape. In doing this, you will highlight the dish, which can add a touch of something a little “extra” to the final product.
Scraping your photos makes the lighting less direct and less harsh. This method will result in a nice, illuminating glow that takes advantage of natural shadows and contours of light.
Tip #6: Reflectors
A reflector is essential to food photography. I said it. ESSENTIAL! At its most basic level, a reflector is a white board that, quite literally, reflects light from the sun, onto the board, and back onto the food.
No need to buy a reflector specifically for photography when regular household items work just fine! Save some money and use a large piece of white paper folded in half or a presentation board. In doing so, you are able to direct light, thus changing the look of your image as desired. This is one of my favorite food photography tricks!
Composition
Tip #7: Vertical vs Horizontal
This is a super basic tip, but it is a MUST! I (now) ALWAYS photograph my food vertically. Vertical images, in my opinion, look so much better than horizontal, especially once they’re inputted into a recipe post.
Why? You typically want longer content on your blog post, which gives more room for ads to be placed. Additionally, vertical images allow you to create Pinterest pins that are the ideal dimension for the platform.
Tip #8: Rule of Thirds
With the “rule of thirds,” you need to divide your canvas into three parts. The subject (typically) takes up 2/3 of the canvas, leaving the remaining 1/3 to the background or another non-essential part of the image.
Tip #9: Bird’s Eye
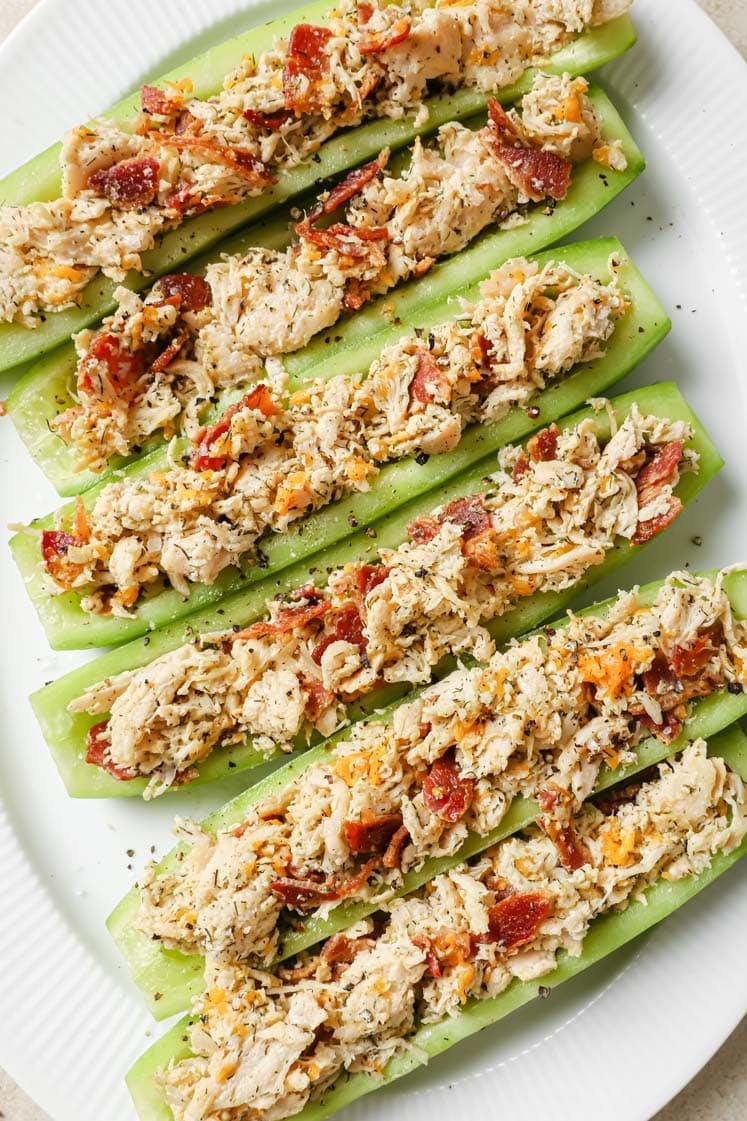
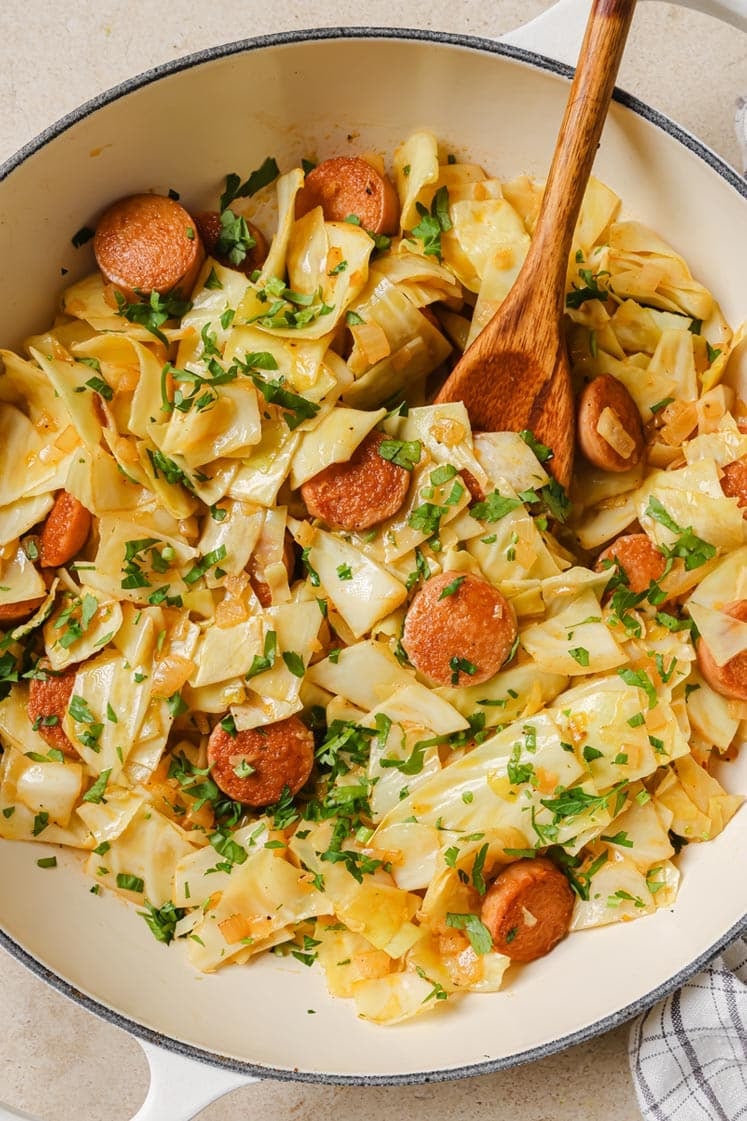
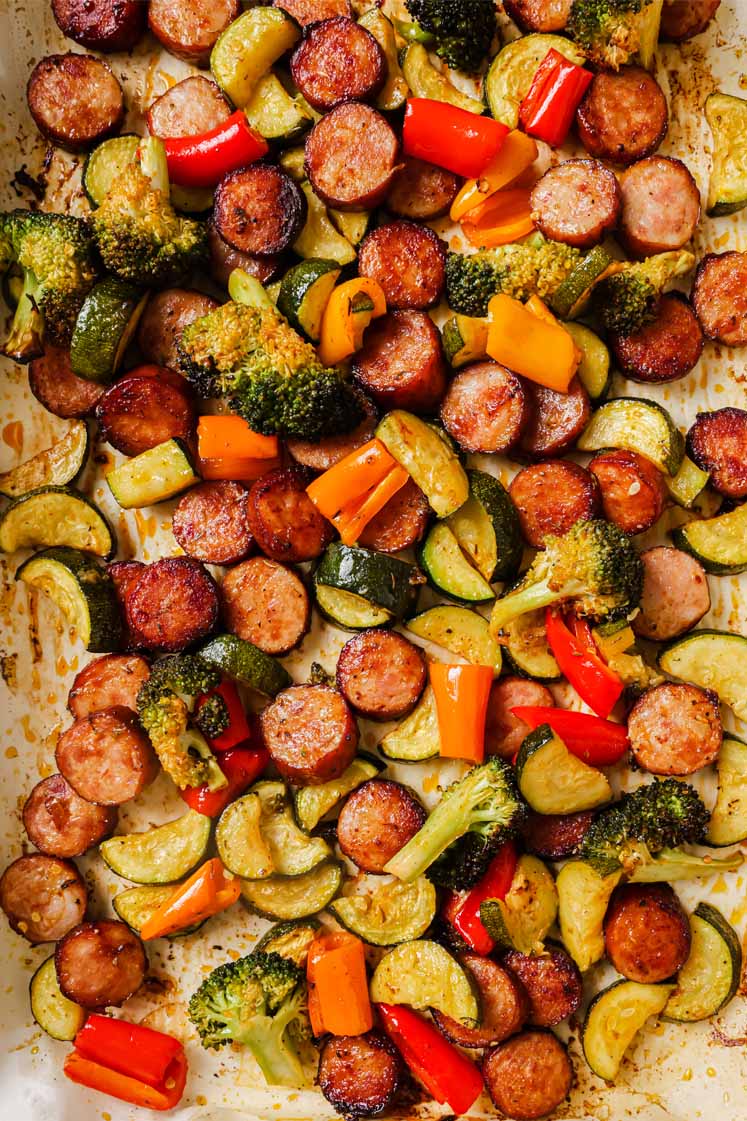
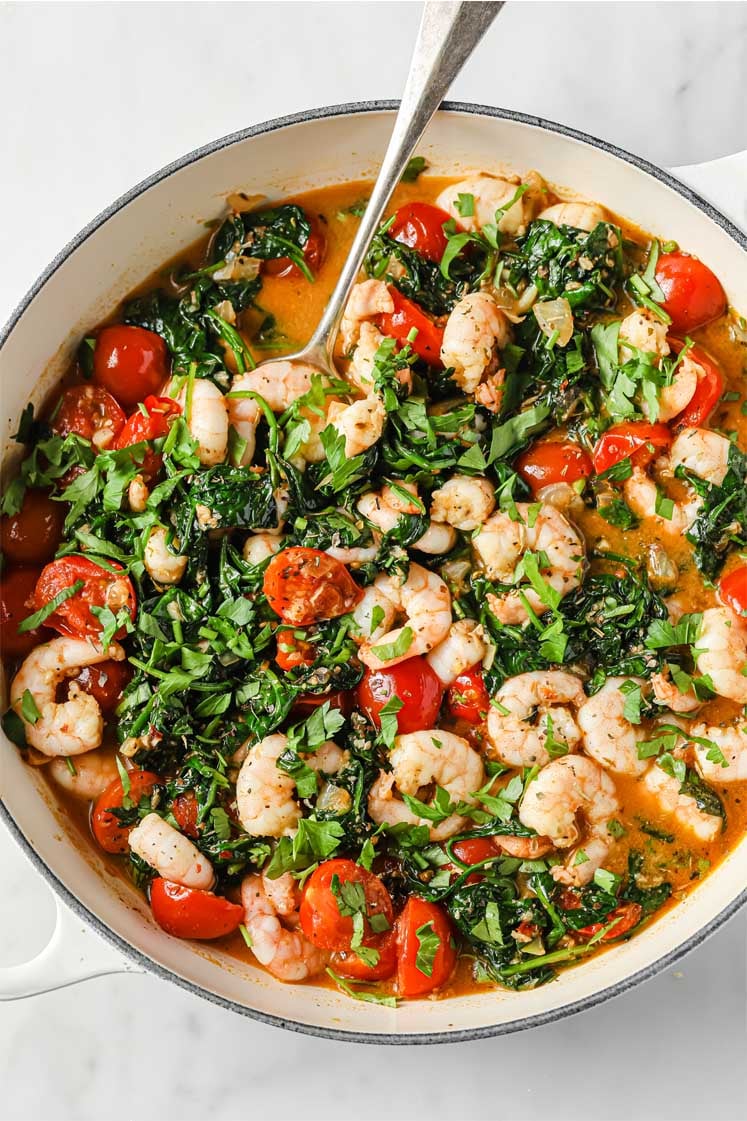
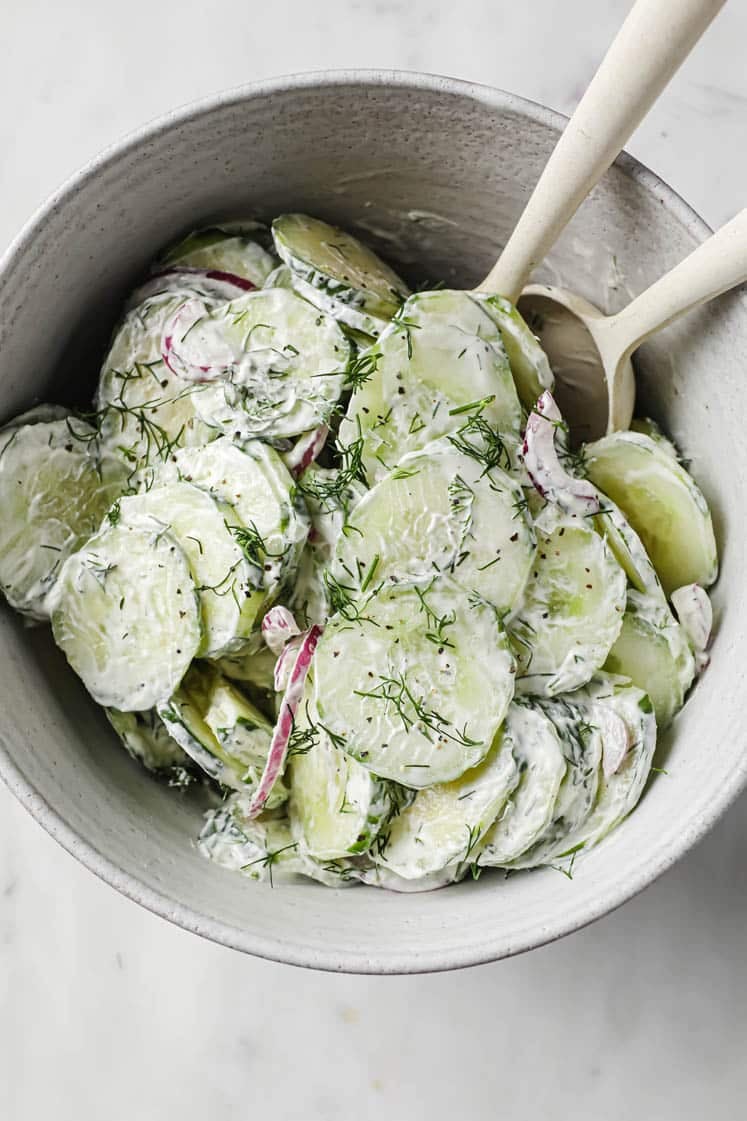
The value of bird’s eye photography (photographing your subject from directly above) should definitely not be ignored! Bird’s eye photographs allow you to capture your food in a realistic way. You can photography entire place settings, fuller dishes, and more.
Tripod Extender Arm
Instead of crouching over your dish and either almost breaking your back or almost falling over, invest in a tripod extender arm. And, when you’re about to say, “but Sara, I’ve already put so much money into food photography!!!,” I will respond and say this purchase is a MUST.
Buying a tripod extender arm quite literally changed every facet of my food photography process. No more bending over and taking blurry images. Now, with this piece of equipment, I can easily take beautiful overhead shots without fear that I’m about to fall directly into the food or need medical attention for serious lower back pain.
Tip #10: Showcasing Details
A great way to make the details of your food stand out is through using an intense focus and a slightly blurred background.
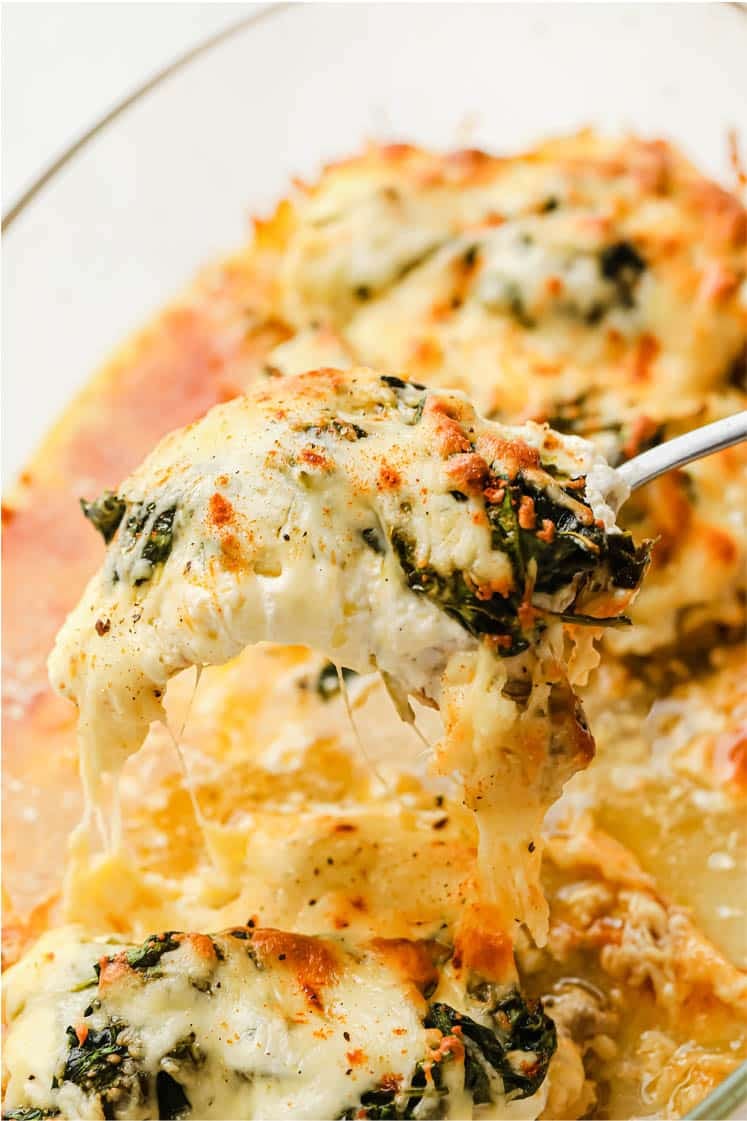
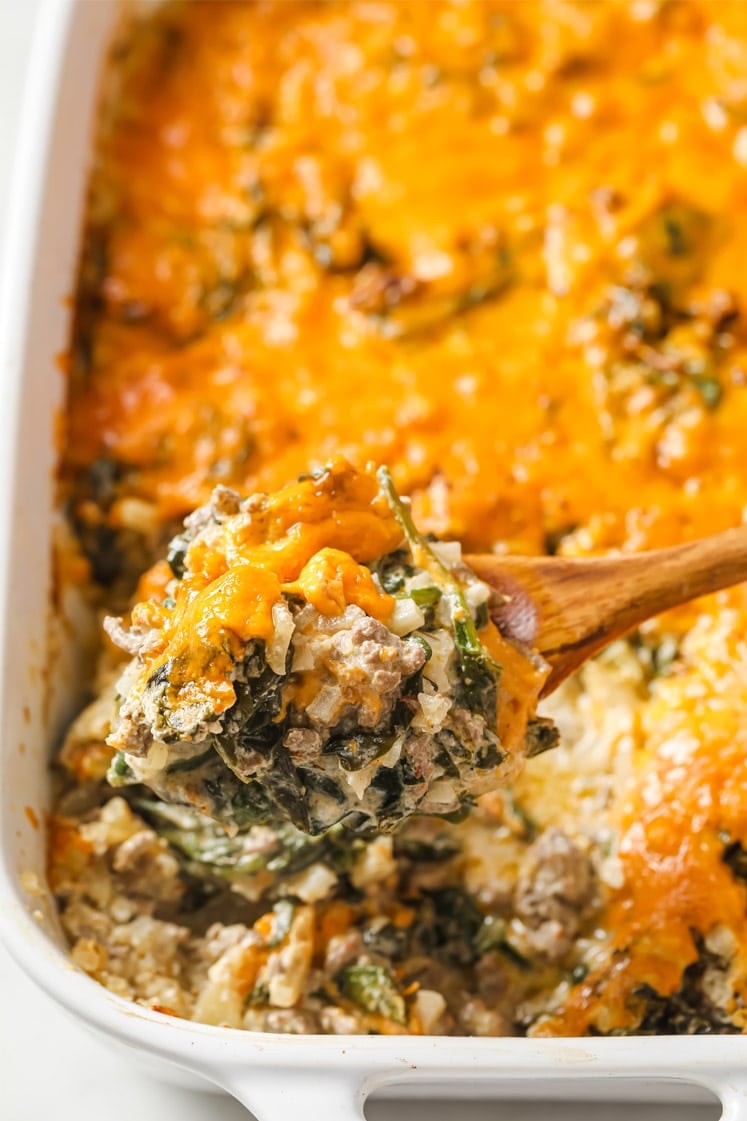
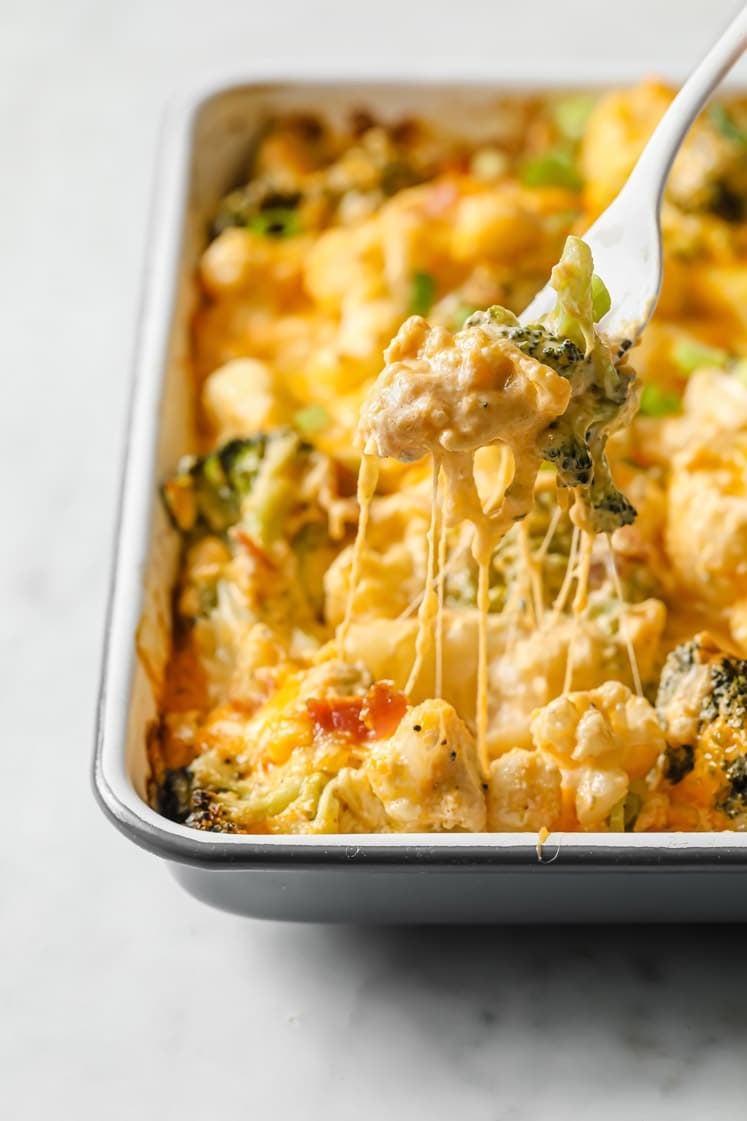
Trying to show the detail of the melty cheese in your keto pizza? Pull a piece of the pizza onto a fork and hold it closer to the camera. This adds depth to your photograph while also showing the reader some mouthwatering details!
Editing
Tip #11: Crop and Straighten
When it comes to editing, I cannot stress this first point enough. Be sure to CROP and STRAIGHTEN your images! When images are blatantly misaligned with the frame, they instantly look unprofessional.
Though in some cases this may be intentional (such as photographing a square baking dish from an angle), take the time to crop and straighten your images with intention. You can do all of this right in Adobe Lightroom or Adobe Photoshop.
Tip #12: White Balance
When editing in post, focusing on white balance is a must. If your images have a warm or cool (yellow or blue) tone to them, adjusting the white balance can make a huge difference. This helps to make your whites look whiter and results in a crisper, cleaner look.
I use Adobe Lightroom to play around with my white balance and, personally, I prefer when the whites look like a “pure, bright white,” while other photographers like softer whites.
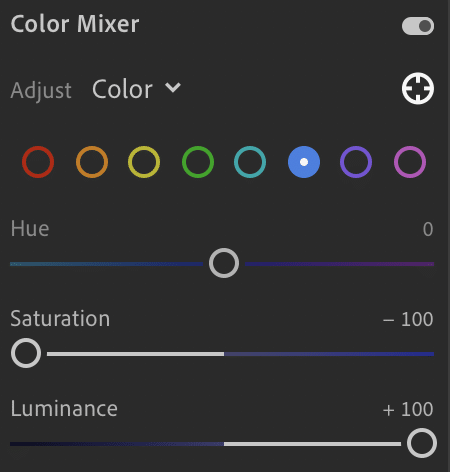
If you have a photo that the whites are looking “too blue,” using the “Color Mixer” tool in Lightroom, try adjusting the blue Saturation and Luminance. To do this, toggle the blue saturation down and the blue luminance up.
Tip #13: Saturation
When you enhance the saturation of your images, you are increasing the intensity of the colors. If you’re editing an image of a red and yellow food, increasing the saturation is going to make the food appear to be more red and yellow.
Saturation is a great tool to use to make drab photos more colorfully intense, but be careful to not overuse it; images that are too red or yellow tend to look unnatural.
Tip #14: Exposure
Exposure in photography refers to the amount of light per unit area. I’ve always found that it’s best practice to set my camera to under-expose images when taking photos, as you can always increase exposure in post, but it’s much more challenging to lessen exposure in post. If you have an image that is a bit too dark, try increasing the exposure to make the subject more visible.
Tip #15: Sharpness and Clarity
Sharpening your images is a great idea, especially if the food has a lot of detail. Increasing the sharpness and the clarity makes texture stand out and can enhance the features of your food.
BONUS TIPS
Garnishes
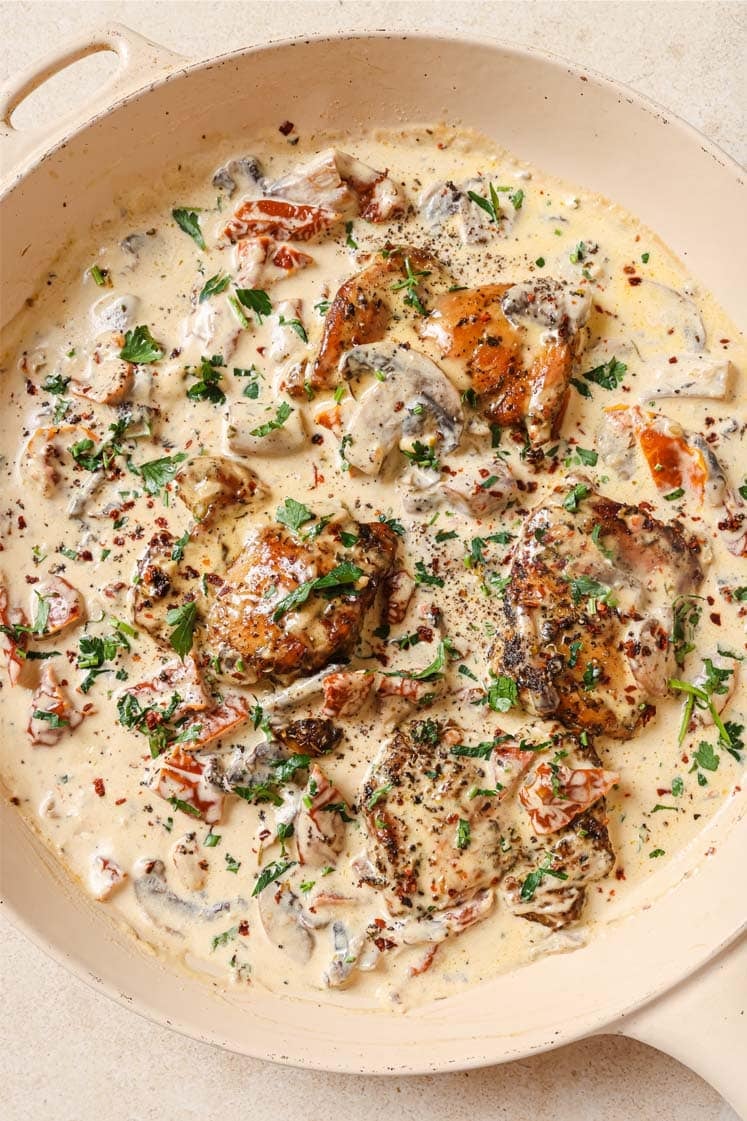
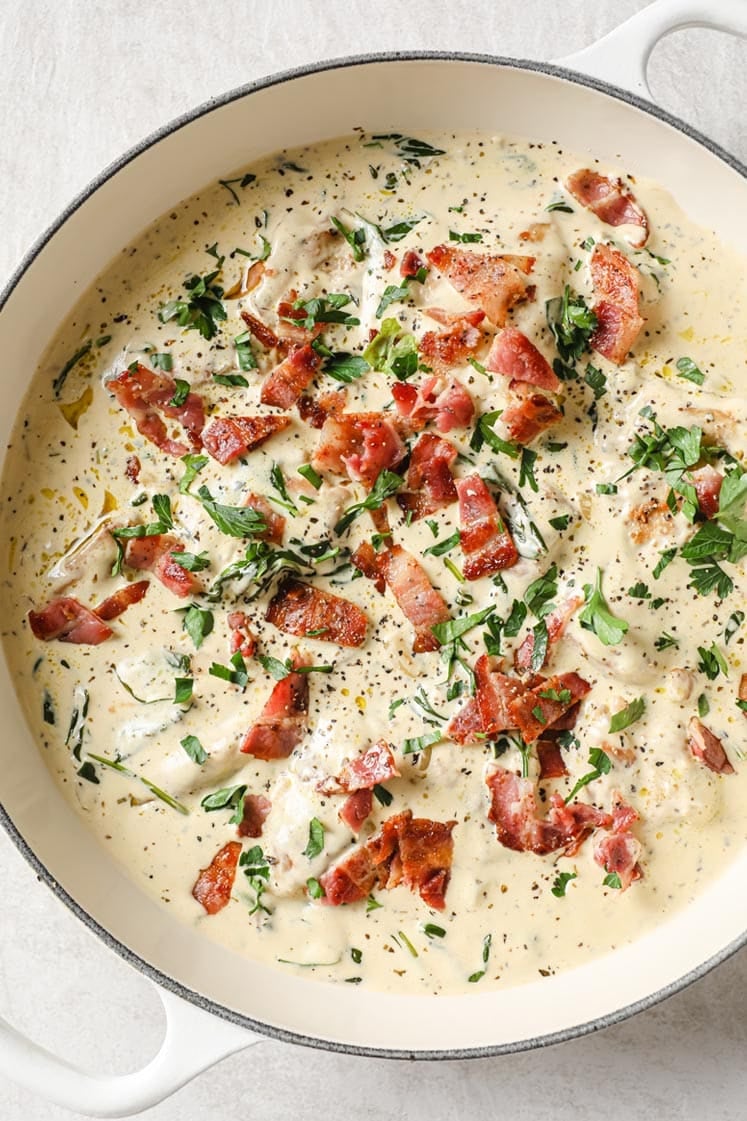
A simple way to make your photographs a bit more aesthetically pleasing is through adding garnishes! Adding garnishes creates an extra visual element that can take your photos from boring to eye-popping. Some of my favorites include green onions, cilantro, parsley, citrus zest, crumbs, and bacon crumbles!T
Photo Editing Apps for your phone
When it comes to editing, there are a few food photography apps that help me edit on-the-go. This is great for when I take a photo at a restaurant and want to quickly post to Instagram and other social networks without having to export the photo to my laptop and edit in Lightroom.
- VSCO: VSCO is very popular, and rightfully so. The editing features are awesome, and the built-in presets are extremly helpful for editing on-the-go.
- Instagram: Honestly, Instagram’s built-in editing features are pretty awesome! I love using them for easy adjusting and mild editing.
Instantly improve your photos with these creative food photography ideas
As you embark on your blogging journey, these food photography hacks will help you take your photographs to the next level. If you have additional suggestions on how to improve food photography, let me know by leaving a comment on this post!






Leave a Reply